• Skip to primary navigation
  • Skip to main content
  • Skip to primary sidebar
  • Skip to footer

Sweet Love and Ginger

  • Home
  • About
  • Recipes
  • Garden
  • Work With Me

Crafts

Project No. 4 – Wood Photo Backdrop

By Jessica

This post may contain affiliate links. I may receive commissions for purchases made through links in this post.


photo back drop how to cover

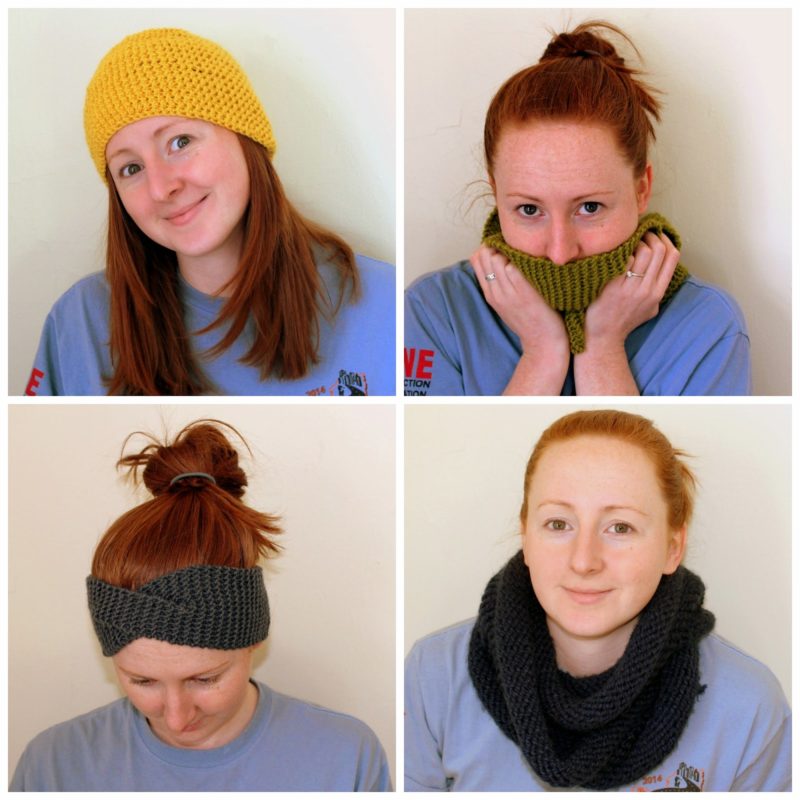
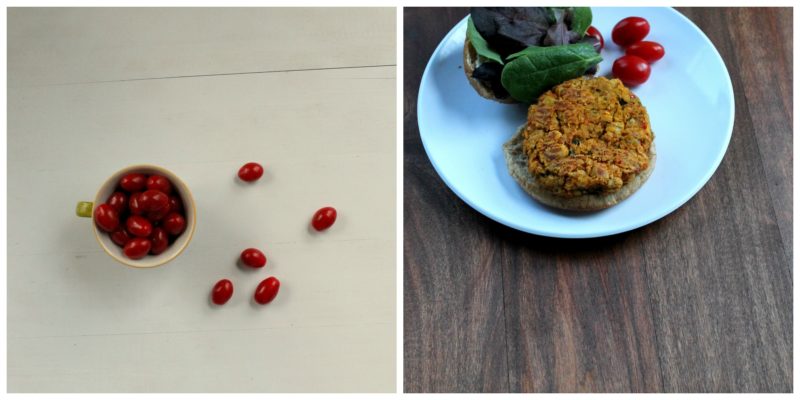
I don’t think this project could be more fitting for my blog. I’ve been thinking for a while that I needed to move up in the world and start using more props and professional looking backgrounds in my photos. In the last year or two I really put in some effort to learn how to take better photographs. While I love art, I have never been good a getting quality photos, but I think I have learned a great deal and have really improved my skills quite a bit. The photo below is a perfect example of this.

Improve Food Photograhy

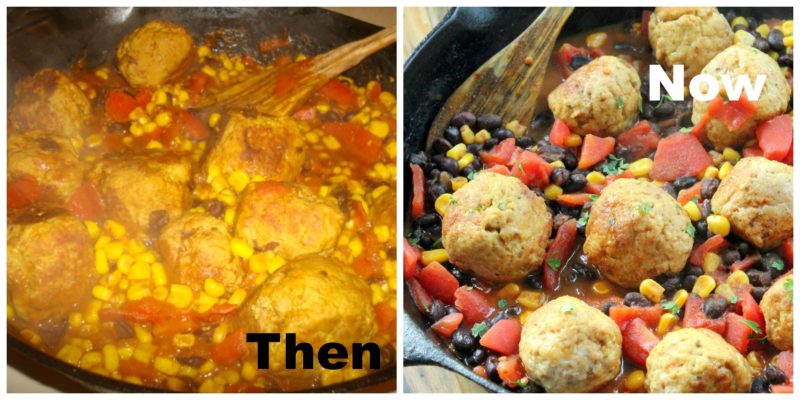
The recipe above is South West Meatballs Skillet.

I owe much of this improvement to the Tasty Food Photography ebook from Pinch of Yum. If food photography or photography in general is something you are interested in I definitely suggest you check this book out. It has so much useful information that applies to a wide range of photography, not just food (think jewelry, paper products and other inanimate objects).

Tasty Food Photography eBook

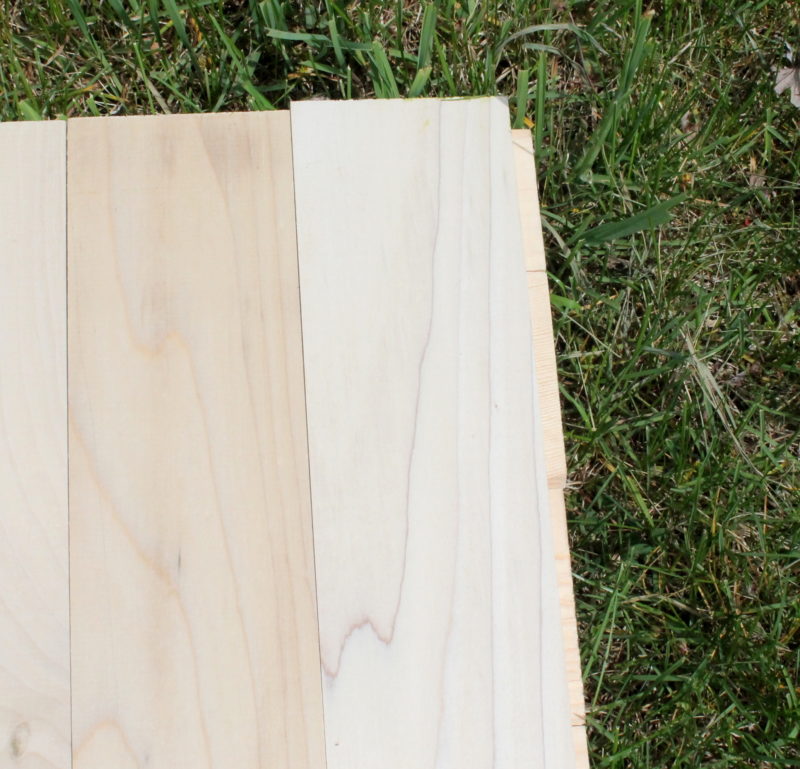
I got everything I needed at the local hardware store for about $3o. I used **pieces of #”x2’ craft wood and 2 pieces of 2.5”x2’ craft wood (1/4” thick wood), and wood glue to build the boards. Then I bought a stain sample and some white paint to give them some color.

IMG_7445

Here’s what I did

1) First I laid out half the wood to make a square that was roughly 2’ in length.

2) Then I used the remaining boards in the opposite direction to create another board.

3) I glued them all in place with the wood glue. A quarter sized drop of glue where each board touches should be enough.

4)Let it dry overnight with a couple crates of books on top of it. The weight helps press the wood together while it dries.

5) The next day I spray painted one side white, and let it dry. It was a super hot and sunny day so it was dry in less than 30 minutes.

6) After testing the white paint and determining that it was dry I stained the other side using the directions on the can.

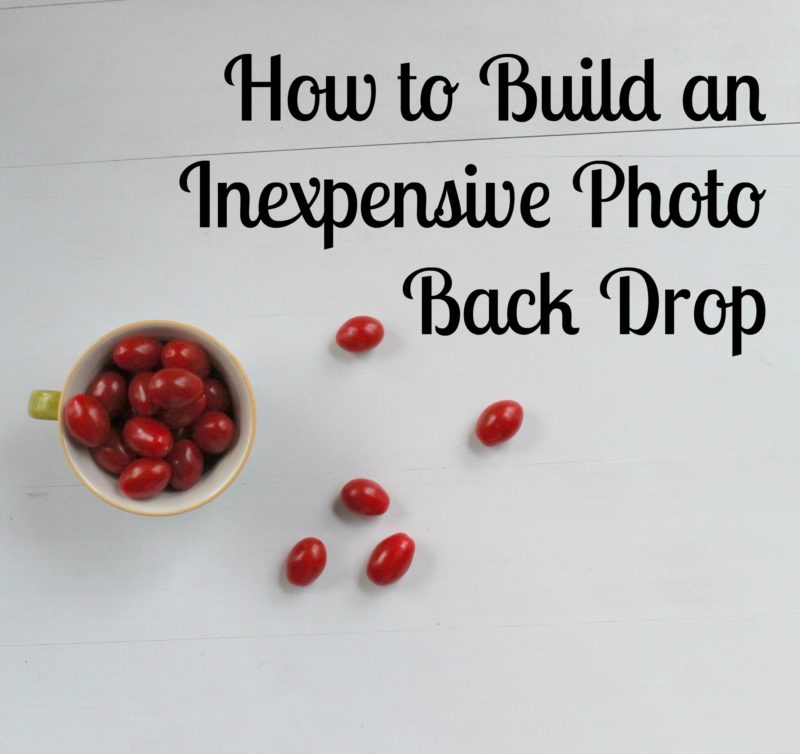
Voila a homemade wood photo backdrop.

Photo back drop how to

Over all I couldn’t be more pleased with the results. This was a pretty easy project that I hope will be another step toward improved photography for me.

Now that I’m gearing up for project number 5 I am only getting more excited for this whole thing. I love pushing my limits and committing to doing one unique project a month. I am so happy I started this challenge.

Are you working on any projects that you are excited about? Do you have any unique projects that don’t use the materials I have already used? Please tell me about it all. I want to read all the crafty things!

May 18, 2015 May 13, 2015 Filed Under: 12-12-12, Crafts Tagged With: Projects

Project No. 3 – Making Soap

By Jessica

This post may contain affiliate links. I may receive commissions for purchases made through links in this post.

Mothers Day is coming up and I’m a little short on ideas
right now. When you get to be my age it feels like everything has already been
done. I decided to hit up the local craft store and see if there was anything
that I could come up with for my sister and I to do together.

I found this soap making kit, and thought why not? It’s a
fun idea, and I like the design. It doesn’t look too ridiculously hard, and
everything that I need is right in the box. Before you ask My mother only reads this blog when I send her the link to a specific post, so I’m pretty sure it will be safe until the big day.

The actual hard part of all this was trying to nail down a
time to hang out with my sister in a kitchen un-inhibited and without my mom’s presence.
I did manage to make it work though and we spent a lovely morning with our Gram
busting out this project.

Basically the stock soap is melted, then anything you want to put in is added. We used a mixture of essential oils, apricot seeds and rose coloring that came in the box. My sister had a good time trying to mix the different scents. The mixture is then poured into the molds and left for 45 minutes to an hour. We used a mini muffin tin and suran wrap for some of the excess soap. Really it was that easy.

I think the best part of this project was the ease with which everything was cleaned up. Basically a rinse in the sink was all that it needed, I mean it’s soap after all.

While this project was fun, I don’t think it’s something I’ll want to do all the time. I really like the organic soaps that I get from Filthy Farmgirl, but it was good sister project this time around.  

April 20, 2015 December 5, 2017 Filed Under: 12-12-12, Crafts

Project No. 2 – Ink

By Jessica

This post may contain affiliate links. I may receive commissions for purchases made through links in this post.

Prints are the thing now. 
They are everywhere from etsy shops to major stores, and everyone seems
to have them in their homes.
Somehow I stumbled across this print (I believe it was a blog post). I loved the idea of it and immediately wanted
it for my own kitchen. Roast chicken is near and dear to our hearts. It’s
something I cook almost weekly, with a tired an true recipe that both Chuck and
I love, this print seemed perfect.
The only thing about it that I didn’t like was that it wasn’t
my recipe. I thought having a print that was all mine would be amazing, so I decided
to get to work. It took me a while to figure out a design that I liked, and
then figure out what pens /markers/tools to use. I did a fe side projects to
get comfortable, and then just went for it.

I think it turned out pretty good. I made one small mistake,
but a little white out isn’t noticeable from far away. I could always scan it
into the computer and photoshop it out, but that’s a lot more effort, and
imperfections are part of life. I think it will remain as is for now. Also the matting that I made myself from colored paper is a little off, but I think it adds to the imperfect look; at least that’s what I’m going with for now.

I put it
up in our kitchen where we used to hang a calendar and love opening our door to
it every day now. After Project no. 2 I am even more in love with this
challenge. I hope to fill this house with handmade items, and art. It fills my
heart during the creative process and then seeing these things get use every
day.

March 23, 2015 December 5, 2017 Filed Under: 12-12-12, Crafts

A Cowl Scarf in 4 Easy Steps

By Jessica

This post may contain affiliate links. I may receive commissions for purchases made through links in this post.

I got a few questions about my second cowl scarf so I thought I’d do a quick how to here for you guys.

I love this scarf and in fact wear it almost every day. I like that it is long enough to double as a hood, and the soft yarn is super warm. Seriously this may be the best project i have ever made, it is certainly getting more use than anything else!

If you need an overview of how to cast on or off, check out this post.

Tools:
Size 15US wooden needles w/ 29″ cord
2 skeins of thick yarn

Steps;

Cast on 125 stitches
Join in the round. I used the video below to learn how to do this. It’s insanely easy.


    3. Knit 45 rounds (or rows). Honestly I just knit until i was almost out of yarnand it ended up being about 45 rows, but you can add or subtract to this number as you see fit.


    4. Cast off and clean up.

Note: To connect a new skin of yarn I simply tied the two together and wove the tails into the body of the scarf with a crochet hook. Doing the same with the tails from the beginning and end.

There you have it a completed scarf! I was able to finish this in the length of one evening while Chuck and friends watched football. It’s really an easy craft that takes very little mind work which makes it the perfect way to relax in my book.

March 9, 2015 December 5, 2017 Filed Under: Crafts

Project 1: Learning to Knit & an Easy Cowl Scarf

By Jessica

This post may contain affiliate links. I may receive commissions for purchases made through links in this post.

My first project for this year’s crafting challenge is knit.
I had intended to only knit a cowl scarf, and I did. It came
out great, but once I had that finished I got a little excited, (read obsessed)
and started knitting other things. Immediately I made a twisted head band,
tried to learn how to pearl, learned to knit in the round, and made another, larger cowl scarf. After all that I then picked up a crochet needle and learned that.

Previous to this I had never crocheted, at least not in my
memory. There was a time growing up, when I spent a lot of time with my
grandmother. She was the one who initially taught me to knit. After years of
not knitting I essentially forgot it all and had to relearn it for this
project, and having just learned knitting again made crocheting easy to pick up.
I really think this challenge was a good idea, perhaps a great idea. I feel
overwhelmingly inspired and excited by it. I just hope I can put the knitting
down long enough to complete 11 other projects with different mediums. I don’t
know what I will do if I get this excited over each medium. There aren’t enough
hours in the day to complete all the crafts already in my head.

Getting back to the initial project I had intended for this
post; the cowl scarf. I would love to do an in depth tutorial of what I did but
I’m clearly just learning how to knit, so instead I will show you what I used
to learn. 
The steps were basic:

 I cast on a bunch of stitches, basically what
looked like it would fit comfortably around my neck (we are very scientific
over here). Note: when you cast on, that first row should be about half of the
length you are looking for, it will spread out in the next row. This video is
awesome for explaining how to cast on.

      2.   Then I knit row after row after
row until it looked like it was wide enough to cover my neck.
      3.    Next I cast off, using this video.

      4.    Lastly I sewed the two ends
together. Using a needle to weave a piece of yarn in and out of the edges.

And there you have it a basic cowl scarf!

I also learned to knit in the round, but this post is long enough, so we will talk about that again soon. In the mean time have you done any cool projects lately? I would love to hear
about them!!!! 

February 16, 2015 December 5, 2017 Filed Under: 12-12-12, Crafts

  • « Go to Previous Page
  • Page 1
  • Page 2
  • Page 3
  • Page 4
  • Go to Next Page »

Primary Sidebar

  • Facebook
  • Instagram
  • Pinterest
  • Twitter
  • YouTube
Hi, I'm Jessica. I'm an herbalist living in the great northeast with my husband Chuck, our two little boys, our dog Brody and a flock of chickens. I'm all about real, good food and good times with awesome people. I spend a lot of time outside, in my garden, and concocting potions and helping people feel their best. I also like tea, reading, and about a million other hobbies. I'm so happy your here on this adventure with me.

Footer

Copyright © 2025 · Foodie Pro Theme On Genesis Framework · WordPress · Log in