• Skip to primary navigation
  • Skip to main content
  • Skip to primary sidebar
  • Skip to footer

Sweet Love and Ginger

  • Home
  • About
  • Recipes
  • Garden
  • Work With Me

Crafts

3D Stone Art

By Jessica

This post may contain affiliate links. I may receive commissions for purchases made through links in this post.

This is project number 8 in my 12-12-12 Series. This project involves stones and rocks used to form a unique art piece for the home.


I like rocks.

Weird I know, but it’s kind of how I ended up an engineer. I mean I got to take a whole class (2 actually) that studied different types of dirt. We also had classes in other materials, but obviously I like dirt and rocks. I’m always in awe of the history that comes with a simple stone. Just a hunk of matter all connected haphazardly, like with sand stone or in specific structures such as with quartz. Yeah I’m that girl.

As you can probably guess this little interest of mine has from a very young age taken form in collecting rocks. I have quite the collection. Over time I have given a lot away (my siblings tend to share this weirdness) or just tossed them in the yard to be discovered another day, and only kept my favorites. Those deemed good enough to stay are kept in a glass jar or two around the house, which honestly is a pretty terrible way to display some of nature’s most beautiful work if you ask me.

I decided that I wanted to do some kind of display or craft with my rocks pretty soon after we moved in. Nothing like finding things in a move to get the creative juices flowing right?

IMG_8703

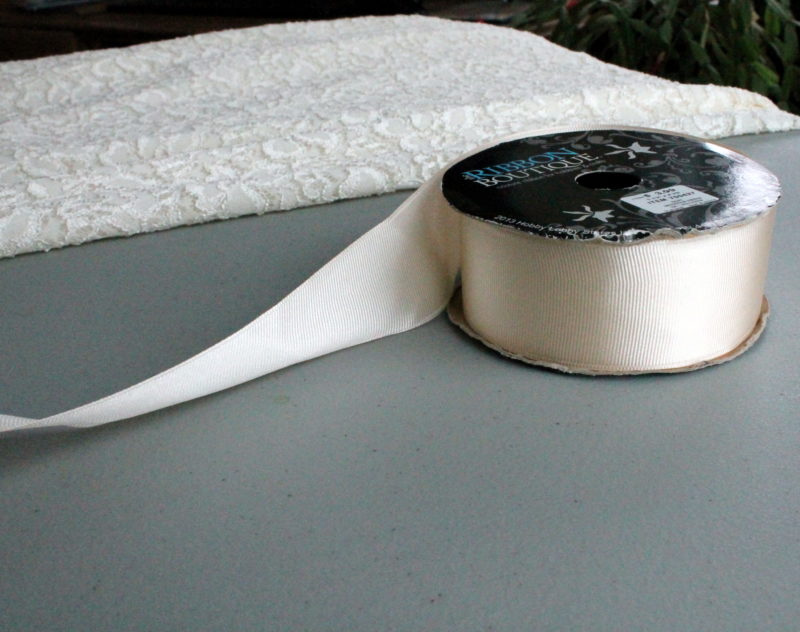
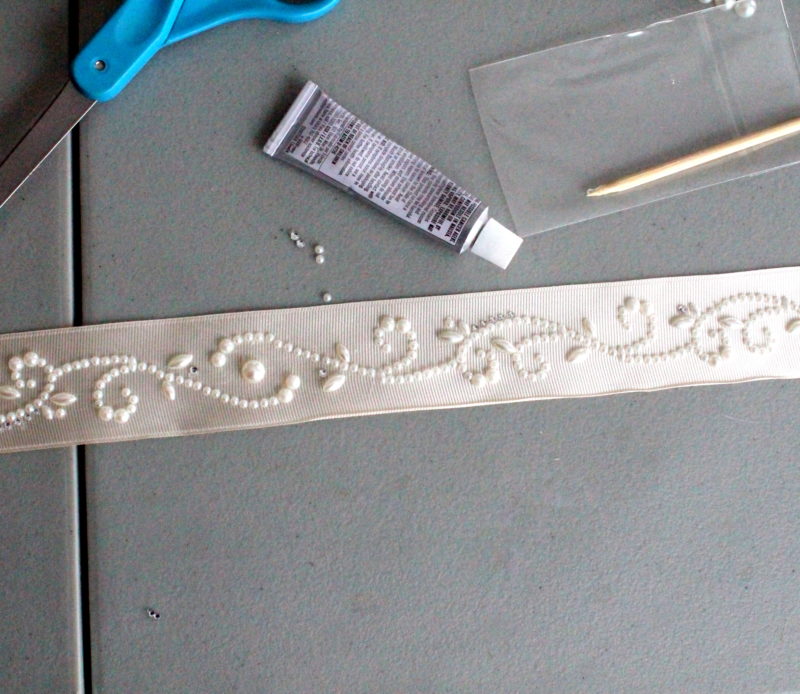
The thing with displays that I’ve never been a fan of is the dusting, so I decided to go with a shadow box for this project. My adhesive of choice was good old hot glue. This little gun and I have been pretty good friends lately, what with this project and all the wedding projects.

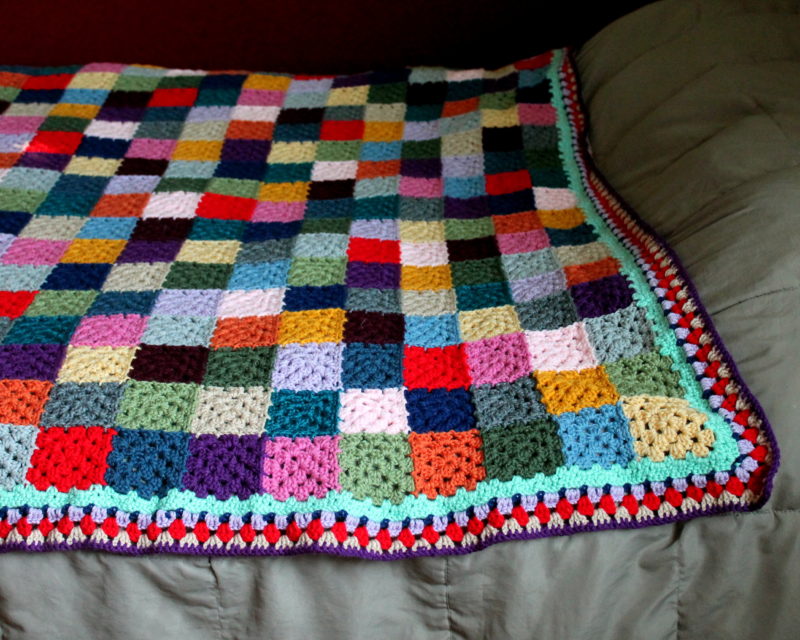
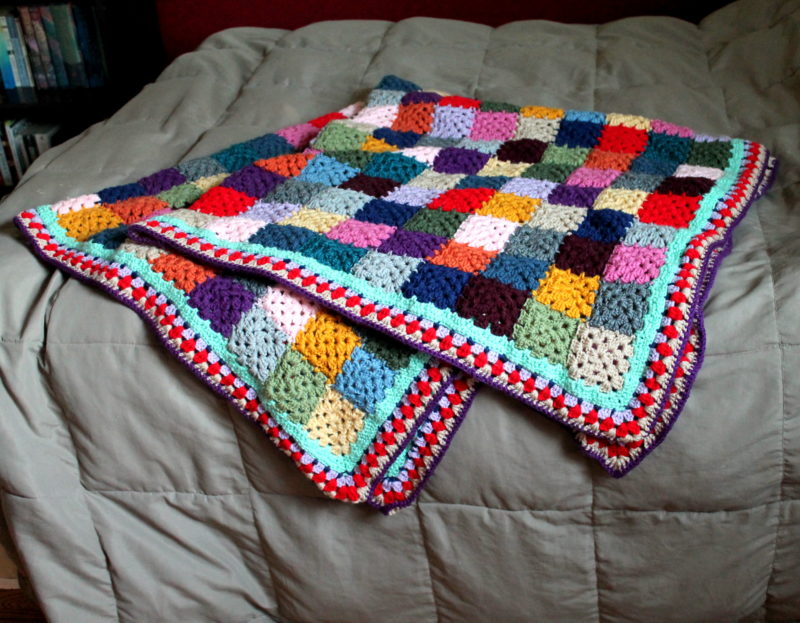
At first I grouped some of my favorites together by color and used these basic groups to create a gradient style design and then glued them in place. For now this piece resides in the guest room, mainly because it’s the only room that’s got any hooks on the walls, but also because I think the red/pink gradient goes really well with the other colors in the room.

I’m happy to have a place to display some of my stones and might just do this with some  of my grey, blue and green stones next.

October 12, 2015 February 12, 2018 Filed Under: 12-12-12, Crafts

DIY beaded Ribbon Belt for a Wedding

By Jessica

This post may contain affiliate links. I may receive commissions for purchases made through links in this post.

IMG_7028

I’ve mentioned before that a lot of things for this wedding I made myself, most of the wedding dress was no exception. I’ll get to more of the details on that later, for now I just want to talk about one piece of the dress; the belt.

Honestly I had no plans on wearing a belt until I went dress shopping and tried one on. My family really liked the way it looked on me, and since I chose such a simple dress they liked the way a little glitz looked with it. Who am I to argue? Except when it got down to the price.

A simple beaded belt ran as cheap as $200. Yeah read that again. I was floored, that cost more than my dress (again we will talk about the dress more in the future). There was no way I was going to pay that kind of money for a belt that I would never wear again. So the only obvious solution was to make it myself.

IMG_7027

I had a million ideas and bought a ton of supplies to start with but what I ended up using cost less than $15. Would you like to know the secret? I used stick on beads from the craft paper section (similar stickers). That’s right these beads were meant to stick on scrap books. I chose to use them for a number of reasons; for one they already had a pretty rad design that I didn’t have to think up myself. Secondly they just stuck on, so there was no sewing necessary, which saves so much time. Third they were actually cheaper than the pearls and rhinestones made for sewing on that I wanted to use. I was afraid, and correctly so that they wouldn’t stick well to the fabric so I also invested in some E6000® Craft Adhesive as well. The glue worked like a charm and kept those babies on the ribbon.

This project was done in just one afternoon. It was as simple as peal, glue and stick. I did reshape parts of the design and add to it, but that wasn’t really too complex. I decided to keep the design basic and understated since that’s the look of the dress, though I don’t think it would have been too hard to go crazy with the rhinestones.

I really enjoyed this project and am completely thrilled with the results. I even got compliments on it from people who had no idea that I made it myself. I’m even more pleased to have such a big hand in the design of my final outfit for my wedding day, without spending a ton of money something that I would only wear once.

September 21, 2015 September 9, 2015 Filed Under: 12-12-12, Crafts, Wedding Tagged With: Wedding

The Best Granny Square Blanket

By Jessica

This post may contain affiliate links. I may receive commissions for purchases made through links in this post.

This is a story about how I came to make the best granny square blanket ever.

 IMG_8087
I was never to in love with the look of granny square blankets. Most of the time they look a little old lady-ish to me (just my opinion). I think the thing was that I had only ever seen them joined with a border like this.
Then I saw this post and thought woah! This is a granny square blanket I can get behind. It was amazing! I loved all the colors and the fact that there were so many tiny squares. You guys do you see all the colors? SO.MANY.COLORS.

Way back in winter I taught myself how to knit & crochet as one of the first projects in my 12-12-12 project this year. Then crocheting took a huge hold on my life for a while. I was making everything! And this blanket became one of the things I wanted to make. I spent $80 on new yarn on my birthday and got started right away.

IMG_8096

I knew this project was a bit large for a novice crochetter but I couldn’t help myself. It was however this reason that I decided not to share that I was taking on this task on the blog. Honestly I was afraid I may never actually finish it. To my own surprise I actually finished in record time, and wrapped the whole thing up at the end of May, which equates to roughly 3 months. And I impress myself.

At the time I had a lot going on, including but not limited to buying a house, attending and planning wedding events and yadda yadda, so I never got around to posting about it. Next thing I know we moved and its summer and the blanket got shoved into a basket somewhere and forgotten until recently.

IMG_8093

I pulled it out for the first time a couple weeks ago and laid it on the guest bed. I haven’t been able to stop looking at it since. I’m so proud and it’s so pretty. To give you an idea of the size of the blanket the bed above is a full size bed.

I won’t even pretend that I can explain to you how to make this thing, but if anyone is interested go here. Sandra does a great job of explaining her methodology in making the original blanket.

Have you finished any awesome projects lately?

IMG_8098


September 14, 2015 September 14, 2015 Filed Under: Crafts

Over Sized Dream Catcher Project

By Jessica

This post may contain affiliate links. I may receive commissions for purchases made through links in this post.

This is project no. 6 in my 12-12-12 series of craft projects using different materials and methods throughout the year.

IMG_8005

For this month’s (really last month, but we are still playing catch up over here) project I wanted to do something with rope. I had a number of ideas (mostly these) but with time, money constraints and the fact that I can’t find my hot glue gun to save my life, had a lot to do with the decision to dial it back and go with a simple dream catcher instead.

The hoop is actually a piece from an old tomato cage that broke in the move, and the twine is just what I had laying around. I used up a large portion of my ribbon stash, and then got some more from my grandmother for the danglies (yeah, it’s a technical term) at the bottom of the hoop. I also used up some small silk flowers, feathers, and beads that I had hanging around to add some more character.

IMG_8009

I love the simplicity of this project and that I was able to use so many stash items, we are trying to cut back on stuff after all. I would like to add a bit more to it, but I think it’s going to be one of those things that happen as I find myself with scraps and leftover beads.

I’m happy with how it turned out and think it will make a great addition to the spare bedroom with its bright red walls. The only thing that I’m not in love with is the slack in the center of the dream catcher. I had a really hard time keeping the string tight when I got to it. If anyone has any tips or tricks for getting this right let me know. I may just rip out the last two rows of string and try it again when I have more time.


August 17, 2015 August 17, 2015 Filed Under: 12-12-12, Crafts

Wood Burnt Popsicle Stick Bracelets

By Jessica

This post may contain affiliate links. I may receive commissions for purchases made through links in this post.

This post is a how to on turning popsicle sticks into bracelets using wood burning techniques. 

  IMG_7745.2

Project No. 5. This project get’s an eh-ok rating. It was a fun afternoon, but I’m someone who likes rapid results so waiting for popsicles to soak and then dry was apparently too much for me. I kind of got bored half way through.

I got a soldering set for Christmas, or my birthday (I can’t remember?) and have been dying for a project to use it for. It’s this set for reference. I really want to make some cool jewelry but there’s really no good set up at our apartment for hot metal work, so I’m holding out for our future house set up (fingers crossed we can get in soon!). In the mean time I thought this would be a good way to get comfortable with the tools.

IMG_7733

My guess was right, I learned a lot, how to hold the iron, how fast it heats up, what the difference is heat does to wood, how smooth it draws, or doesn’t. I did enjoy the wood burning part, thought it’s nothing like drawing. First off you can’t hold it like a pencil, and you have to move slowly and evenly and not push too hard. Typing that makes me realize that this might be a good exercise in control for me, because clearly I have a problem with it. I don’t think I have the patience to really get into wood burning, but it’s nice to know that I can do it.

Here is what I did:

  1. Draw designs on popsicle sticks
  2. Wood burn over the drawings
  3. Soak the sticks in water for about 2 days (they didn’t seem pliable enough after 24 hours)
  4. Carefully hand bend the sticks and place them in a cup to dry
  5. After the sticks are fully dry remove them from the cups

As far as soaking the wood and bending it; I learned a lot there too. I attempted to do the burning on the flat popsicle stick and then bend it, only to find out that many of the places I had burnt become breaking points for the wood. Next time I would bend them ahead of time and burn after, though it might make the burning part more difficult.

IMG_7742

I also realized that my tiny wrists are not suited for this project because the bracelets just slip right off my wrist. I thought of doing this to them to help them stay, but honestly I’m just not that into the bracelets to keep working with them. A few of the sticks that would not bend at all I could potentially use as book marks, since I always seem to lose those.

So even if this project isn’t something I would do again that doesn’t mean that you won’t absolutely love it or come up with a better way than I did. I also learned a thing or two so it was well worth the time.

June 15, 2015 June 14, 2015 Filed Under: 12-12-12, Crafts

  • « Go to Previous Page
  • Page 1
  • Page 2
  • Page 3
  • Page 4
  • Go to Next Page »

Primary Sidebar

  • Facebook
  • Instagram
  • Pinterest
  • Twitter
  • YouTube
Hi, I'm Jessica. I'm an herbalist living in the great northeast with my husband Chuck, our two little boys, our dog Brody and a flock of chickens. I'm all about real, good food and good times with awesome people. I spend a lot of time outside, in my garden, and concocting potions and helping people feel their best. I also like tea, reading, and about a million other hobbies. I'm so happy your here on this adventure with me.

Footer

Copyright © 2025 · Foodie Pro Theme On Genesis Framework · WordPress · Log in