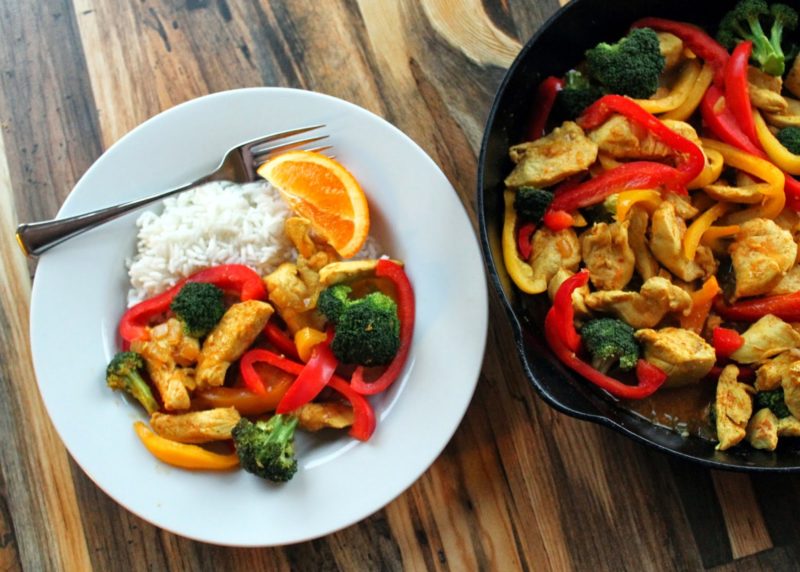
If you have been following my fitness journey (I’m not even
sure if that’s the right thing to call it, my fitness ramblings maybe? Whatever)
then you saw earlier this week I posted a 2 week clean eating menu plan that
included Greek Tilapia. I got the idea/recipe from one of my all time favorite
magazines Oxygen. I have been reading this religiously for years now, and
I love it. This was one of the featured reader recipes.
Now when I went about making this we had plenty of frozen
tilapia and a random piece of chicken in the fridge that we needed to cook. So I
made the same recipe both ways, it worked out because Chuck isn’t a huge fan of
fish, so I figured we would both be happy with this. Upon making these guys we
both agreed that the chicken version was better by a long shot. Like a super
long shot. I think it was the savory chicken juices, and tomato mixture that
did it.
Then I had to decide which to post on here, the one that I
told you I was going to post or the super delicious one I liked better. I
couldn’t decide, and it’s my blog anyway so today you get both. Maybe we can
have a vote to see what you guys like better?
told you I was going to post or the super delicious one I liked better. I
couldn’t decide, and it’s my blog anyway so today you get both. Maybe we can
have a vote to see what you guys like better?
Any who, this is a pretty quick and easy meal that is full
of flavor. I would serve it with something simple like quinoa, or brown rice
since there is a little extra broth that’s packed with flavor anything else
would probably be just too much.


of flavor. I would serve it with something simple like quinoa, or brown rice
since there is a little extra broth that’s packed with flavor anything else
would probably be just too much.
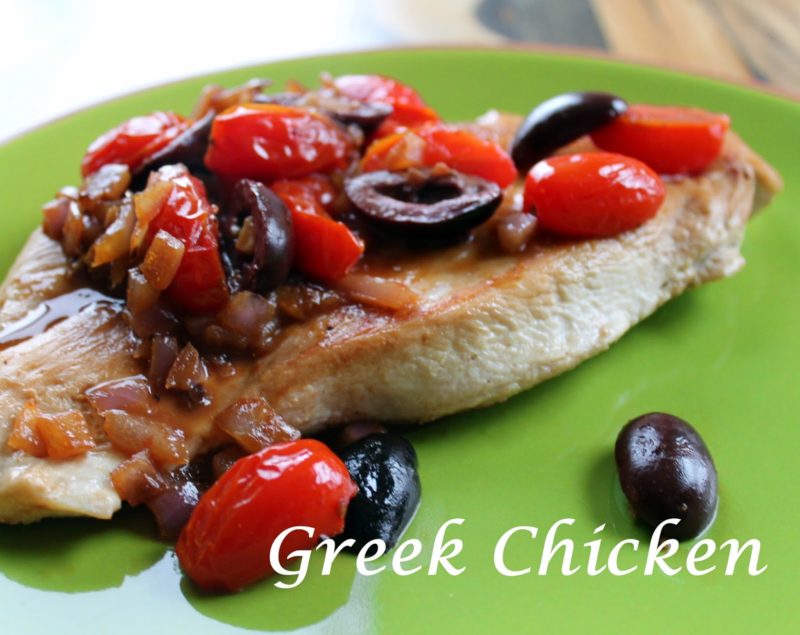
Greek Chicken
1 lb of boneless skinless chicken breast
1 tbsp extra virgin olive oil
2 cloves of garlic, minced
2 tbsp dry white wine
Salt and pepper
1/2 cup kalamata olives, halved
1 cup chopped cherry tomatoes
2 tbsp chopped red onion
2 tbsp chicken broth
½ a lemon
2 ounces feta cheese (optional)
Prepare the chicken breast into paillard form. In a large skillet
heat oil over medium high heat and sauté garlic until it begins to become
fragrant, about 2 minutes. Add the white wine and cook for an additional
minute. Generously season the tilapia with salt and pepper before placing it
into the pan. Cook the chicken for about 3-5 minutes a side, or until it turns
opaque and the juices run clear. Reduce the heat to low and add the onion, tomatoes,
and olives to the pan along with chicken broth. Cook for another 5 minutes or
so, until the vegetables are tender. Squeeze half a lemon over the top and
serve warm with crumbled feta on top, if desired.
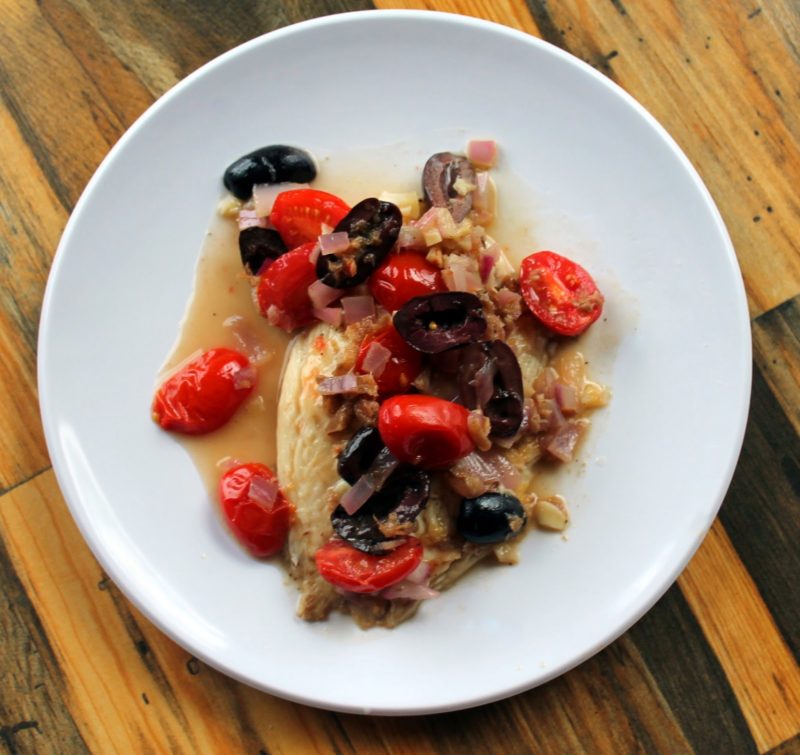
Greek Tilapia
1 tbsp extra virgin olive oil
2 cloves of garlic, minced
2 tbsp dry white wine
32 ounces Tilapia
Salt and pepper
1/2 cup kalamata olives, halved
1 cup chopped cherry tomatoes
2 tbsp chopped red onion
½ a lemon
2 ounces feta cheese (optional)
In a large skillet heat oil over medium high heat and sauté
garlic until it begins to become fragrant, about 2 minutes. Add the white wine
and cook for an additional minute. Generously season the tilapia with salt and
pepper before placing it into the pan. Cook the fish for about 2 minutes a
side, or until it turns opaque and the edges can be flaked with a fork. Reduce
the heat to low and add the onion, tomatoes, and olives to the pan along with a
couple tablespoons of water. Cook for another 5 minutes or so, until the
vegetables are tender. Squeeze half a lemon over the top and serve warm with
crumbled feta on top, if desired.