• Skip to primary navigation
  • Skip to main content
  • Skip to primary sidebar
  • Skip to footer

Sweet Love and Ginger

  • Home
  • About
  • Recipes
  • Garden
  • Work With Me

Jessica

Sauted Swiss Chard with Turnips

By Jessica

This post may contain affiliate links. I may receive commissions for purchases made through links in this post.

I love growing my own food.

It is one of the most rewarding hobbies I have ever had. It can, however, be challenging, there are bugs and bunnies to combat, as well as other pests, fungus’s, blights, weather, and in my particular case poor soil. All of these things can, of course, be remedied with the proper knowledge and skills, often acquired through reading or talking to people who have combated the same problem.

Sauted Swiss Chard with Turnips

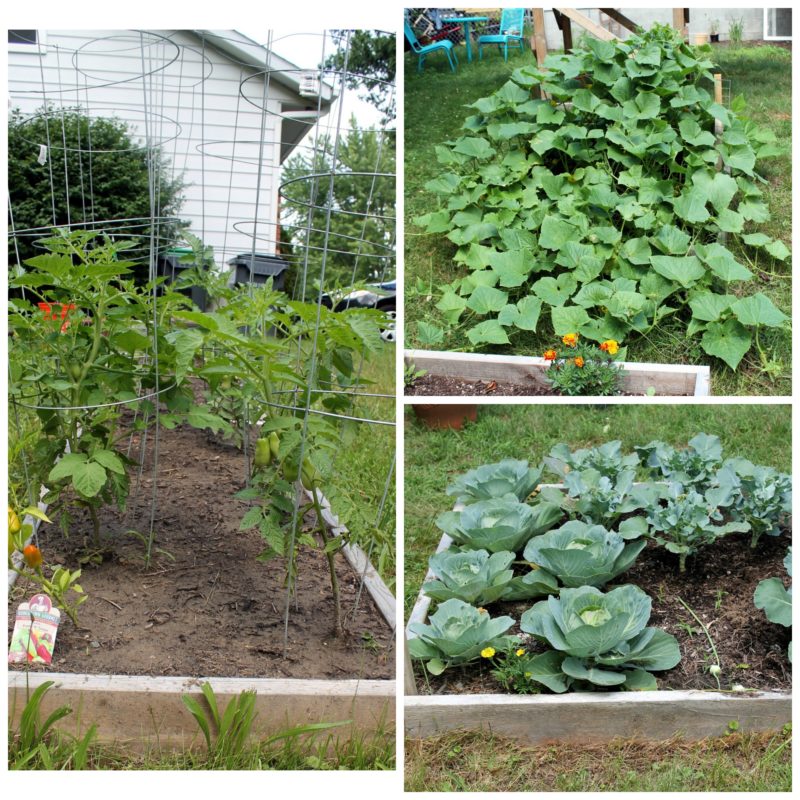
One of the major challenges seems to be learning to use everything up when it’s still fresh and good. Learning to properly dry herbs, can, pickle and ferment is always helpful, but the real challenge coming up with unique recipes that use up what’s ready to be harvested. It’s kind of like a chopped challenge. You may have an idea of what’s ready to harvest, but there’s often a surprise and then you’re left to figure out what to do with it. Then add in the idea of trying to use up the whole plant and then you really have a challenge.

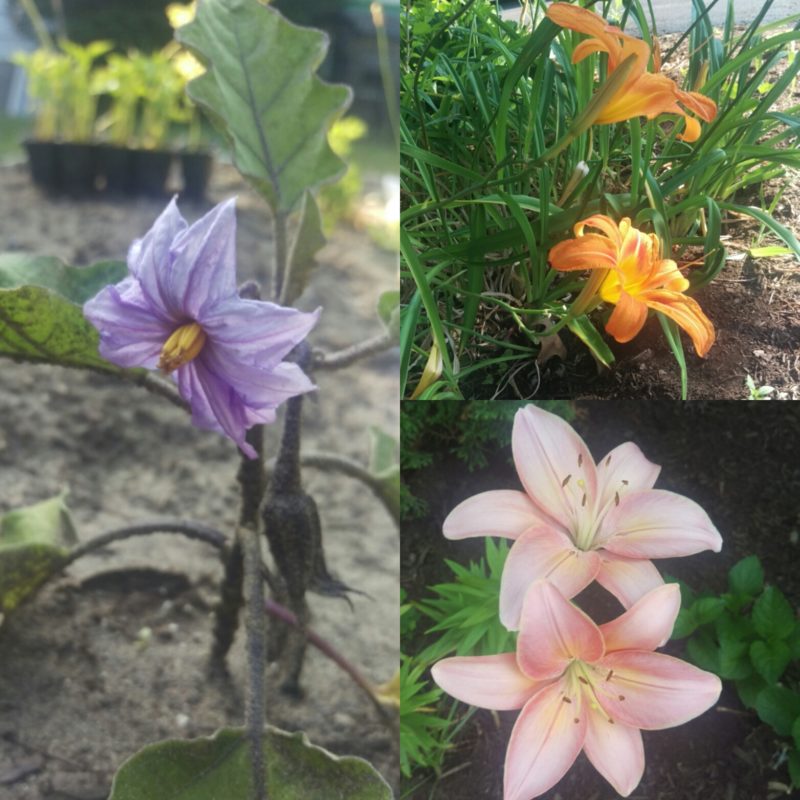
This recipe is the result of just this challenge. If you follow me on Instagram you may have seen the beautiful photo of fresh garden produce that I snagged this weekend. It was a really awesome picture if I do say so myself.

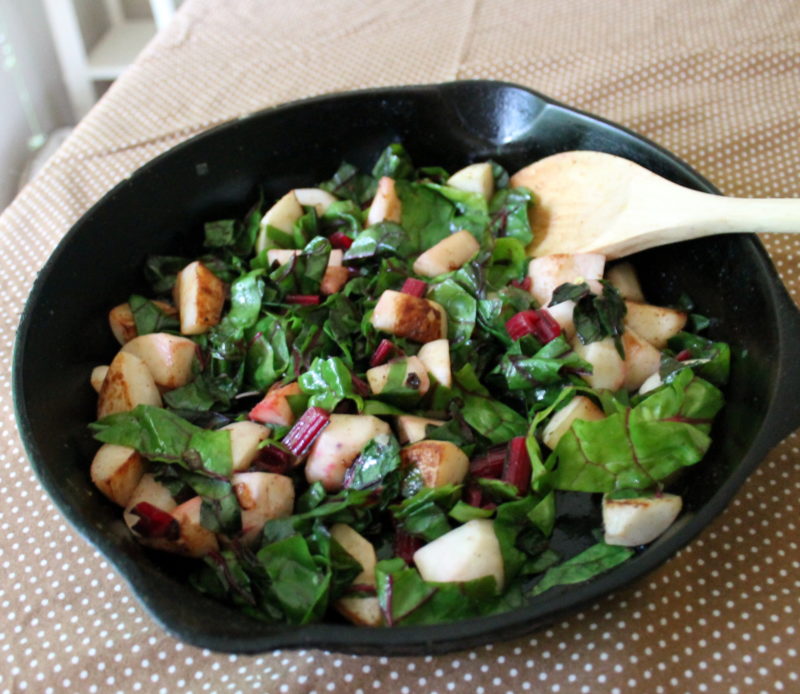
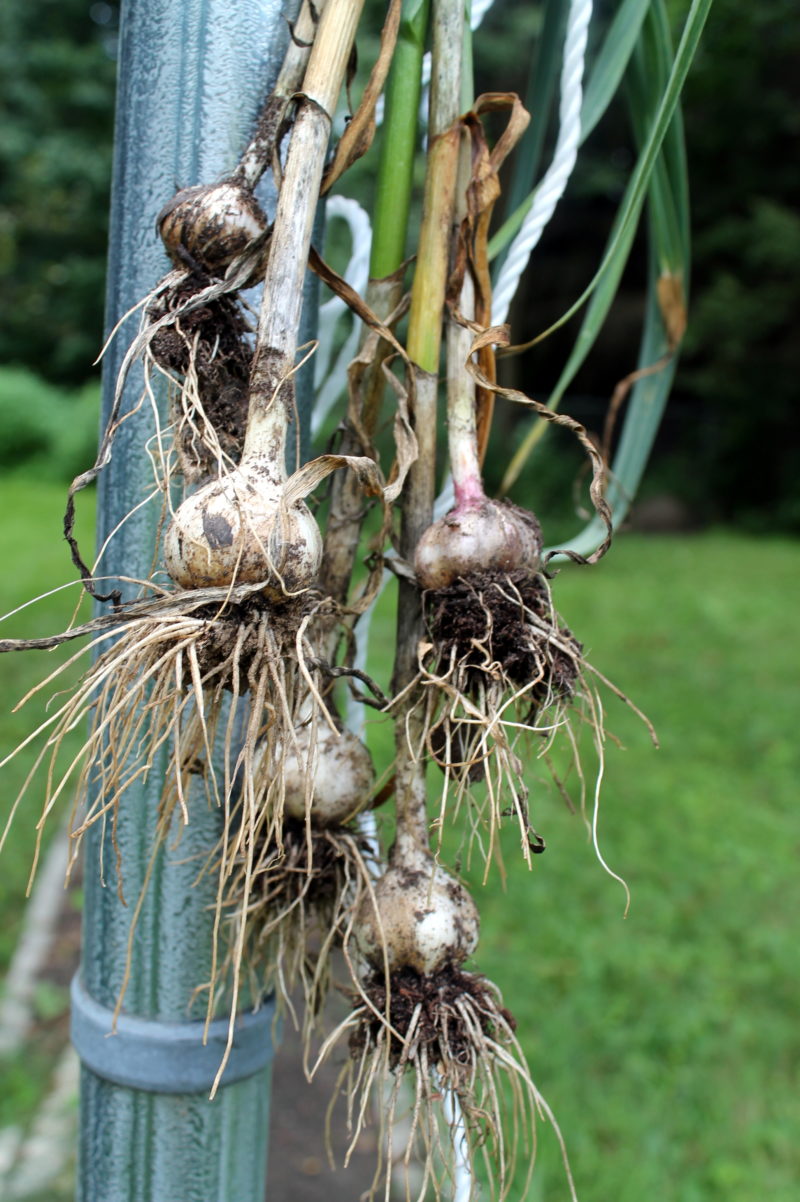
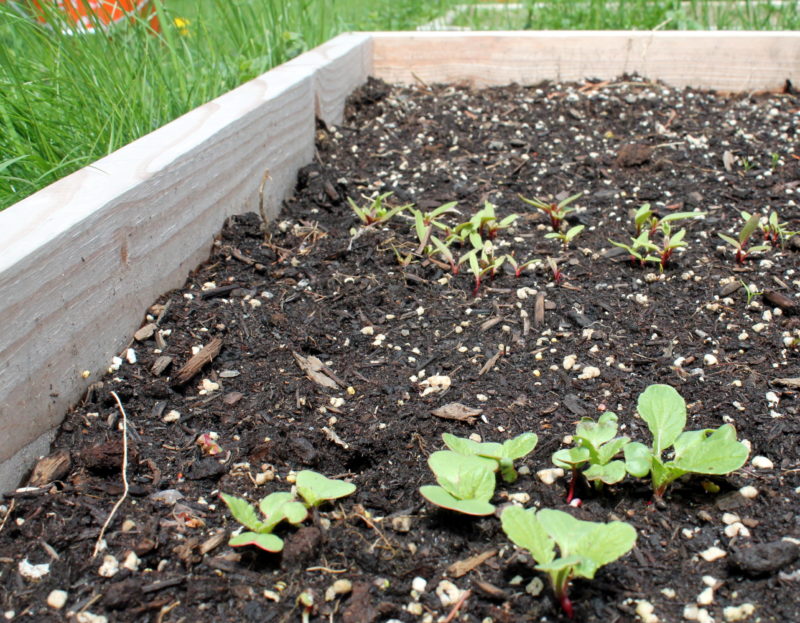
Once I had it all picked I had to figure out what to do with it. For the herbs it was easy, what I wasn’t planning on using for dinner was hung to dry. The cucumber was sliced and eaten as a snack while we waited for dinner. The Swiss chard and turnips were put into this recipe along with some fresh garlic that I had pulled earlier in the week.

While this is a simple dish that was quick to prepare it was especially delicious with the fresh veggies and made a wonderful side dish.

Sauted Swiss Chard with Turnips

Sauted Swiss Chard with Turnips
Ingredients
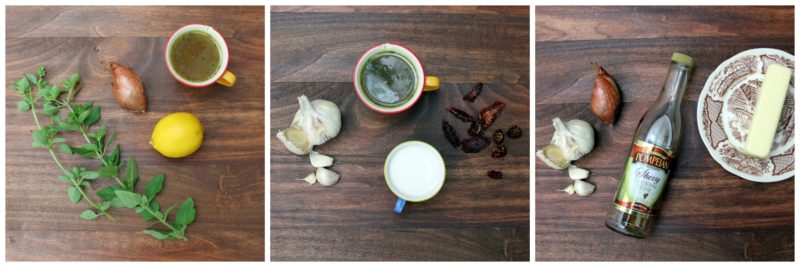
  • 1 tablespoon olive oil
  • 1 shallot, diced
  • 1 bunch fresh turnips, peeled & chopped
  • 1 bunch Swiss Chard, ribs separated from leaves & chopped, leaves chopped
  • salt & pepper to taste
Instructions
  1. Heat oil in a medium-sized saute pan over medium-high heat.
  2. Add shallot and saute for 1 minute.
  3. Add turnip and saute for 3 to 4 minutes, or until the turnips begin to brown.
  4. Stir ing the Swiss Chard (ribs and leaves) and cook until wilted, about 2 minutes.
  5. Remove from heat, season with salt and pepper and serve.
3.5.3208


July 20, 2016 October 23, 2018 Filed Under: Recipe, Side Dish Tagged With: Side Dish, Vegetarian

The Garden in July

By Jessica

This post may contain affiliate links. I may receive commissions for purchases made through links in this post.

IMG_20160707_071835

Flowers, flowers everywhere.

It seems like July is the time of year that my garden has the most blooms so far, though we are still adding to the garden as time goes by. Right now we have lilies galore, a few waining daisies, some echinacea, and hydrangea. This is only the summer portion of the garden, there are still a few more blooms to come and I hope to add a few more late summer and fall blooms to brighten up the garden in fall.

IMG_1489

In the vegetable garden, there has been a lot of change as well.

July Garden

As far as harvests go we are finally starting to get some stuff. A lot of the early vegetables that I planted were hammered by bunnies, so we were not able to get much more than a few radishes and lettuces. Because of this, there is a lot of extra space in the garden that I haven’t yet decided what to do with. I may try to plant some more carrots or beets, for a fall crop. I may also wait until towards the end of summer and plant some more lettuce & spinach.

We already had our first crop of broccoli and the turnips are starting to fatten up for harvest. What beets survived the bunnies are also starting to fill out. This weekend I pulled up the garlic and hung it to dry. This is my first time growing garlic and I’m really excited to try it out.

IMG_1480

As far as everything else goes, we are pretty much playing a waiting game, everything is just about ready or only a few weeks out. The tomatoes are green, beans are starting to form, cucumbers are showing up (and taking over). It’s been hot and it’s going to continue to be hot and sunny for the next few weeks which is just what the garden needs. I’m looking forward to a much more exciting post next month.


July 18, 2016 July 17, 2016 Filed Under: Garden

Weekend Links

By Jessica

This post may contain affiliate links. I may receive commissions for purchases made through links in this post.

Forgive me for missing my weekly recipe post. You kind of got three of my favorites to test out on Monday, so I think it’s fair. The last 2 to 3 weeks have kind of been a blur so you’ll have to bare with me a bit. Since it’s been a while since I did a weekend links post I thought it might help to tide you over for a bit. Enjoy!


I’ve been seeing this around, and I’m really considering doing it, just because.

A Better Kind of Happiness.

20 Ways to Learn Something New Everyday…. Because I love to learn.

Antibacterial Soap has its’s time and place, and its not in everyday use. Many of the things in this article I have been saying for years.

Love this interesting take on the Pokemon Go obsession.


Pinteresting Things I’ve Been liking:

Strawberry Rosé Slush is the perfect refreshing frozen summer drink. BudgetBytes.com

Simple Summer Cheese Board | halfbakedharvest.com @hbharvest


July 15, 2016 January 16, 2018 Filed Under: Uncategorized Tagged With: links

The Anatomy of a Pan Sauce

By Jessica

This post may contain affiliate links. I may receive commissions for purchases made through links in this post.

3 Great Pan Sauces

Adding a pan sauce to a dish is the easy way to take a simple piece of chicken or a plain steak and take it to another level. Whether you go with a light and silky sauce to blanket a chicken breast or something bright and tangy to go with a steak a little sauce can go a long way.

How to make a pan sauce

Pan sauces are typically made up of whatever is on hand, so they come together quickly and can be very different each and every time they are made.

The base of the pan sauce actually comes from the fond or browned bits left on the bottom of the pan from cooking the meat. Once the meat or fish is cooked through it is removed from the pan aromatics are added to saute and pick up some of the flavor left in the pan. Next, a liquid such as wine or broth is added in a process called deglazing. In this process, the liquid and aromatics simmer helping the fond to release from the bottom of the pan as well as concentrating the flavors together. When the sauce is reduced final enhancements such as adding butter, cream or jams are added before serving. Step by step instructions can be found at the bottom of the page.

How to make a pan sauce

These kinds of sauces are meant to be experimented with and following exact steps is not necessary. Below I added a few of my favorite combinations for pan sauces.

Favorite Pan Sauce Combinations

Combination 1 – Shallot, wine or broth, lemon, & oregano

Combination 2 – garlic, sun-dried tomatoes, broth, & cream

Combination 3 – Garlic, Onion, Sherry, & Butter

How to Make a Pan Sauce

1 – Sear the meat of choice in the pan over medium-high heat (finish in the oven if necessary – See How to Cook a Steak).

2 – Remove the meat from the pan and set aside.

3 – Add aromatics (onion, garlic, herbs, etc.) to the pan & saute over medium-high heat for 1 minute.

4 – Deglaze the pan with liquid (broth, wine, etc.). Stir and scrape the browned bits from the bottom until well blended and reduced to desired thickness.

5 – Reduce the heat and finish with final ingredients (butter, cream etc.).

6 – Return the meat to the pan and toss to coat.

7 – Serve immediatly.

July 11, 2016 July 21, 2016 Filed Under: Cooking Lessons

Garden 101: Thinning the Herd

By Jessica

This post may contain affiliate links. I may receive commissions for purchases made through links in this post.

IMG_0286

Ok so you’ve planted a bunch of seeds and they are all growing pretty good. The only thing is that now they are all too close to really thrive, so it’s time to cull them. It sounds morbid I know and it always kind of hurts my heart a little to end their sweet little lives so soon, but for the good of the mass it must be done.

Why must it be done? Because if plants start to grow too close together then they will not fill out. Things like radishes and carrots will not bulb up on the bottom, cabbages, and cucumbers will not fill out, and whatever vegetables you are able to get from the garden will be thin and spindly. Giving the plants the proper amount of space gives them the most yield.

Here’s how I do it: Wait until the first true leaves appear. Not all of the seeds will produce true leaves at once, making the choice of which ones to let go easier. Using gardeners shears cut the extra seedlings close to the ground.

source:http://ipm.ucanr.edu/PMG/WEEDS/ID/broadseed.html

source:http://ipm.ucanr.edu/PMG/WEEDS/ID/broadseed.html

Side note: I tend to thin the seeds twice, letting some get a little bigger begore trimming them. I do this because not all seedlings survive so the extras are a backup, but also because I then will have larger microgreens later on without harming the plants I want to save.

IMG_0512

Once the seedlings have been culled the question becomes what to do with all the trimmed seedlings?

option 1: leave the trimmed seedlings in the garden bed to work as a light mulch or compost.

Option 2: toss them in the compost pile.

Option 3: Use them in the kitchen as microgreens.

IMG_0556

Personally, I prefer the third option. Adding microgreens to smoothies, salads, and to garnish a plate is ideal since it means we get the added benefits of all the good stuff those little guys have.


July 8, 2016 September 8, 2016 Filed Under: Garden

  • « Go to Previous Page
  • Page 1
  • Interim pages omitted …
  • Page 55
  • Page 56
  • Page 57
  • Page 58
  • Page 59
  • Interim pages omitted …
  • Page 171
  • Go to Next Page »

Primary Sidebar

  • Facebook
  • Instagram
  • Pinterest
  • Twitter
  • YouTube
Hi, I'm Jessica. I'm an herbalist living in the great northeast with my husband Chuck, our two little boys, our dog Brody and a flock of chickens. I'm all about real, good food and good times with awesome people. I spend a lot of time outside, in my garden, and concocting potions and helping people feel their best. I also like tea, reading, and about a million other hobbies. I'm so happy your here on this adventure with me.

Footer

Copyright © 2026 · Foodie Pro Theme On Genesis Framework · WordPress · Log in