• Skip to primary navigation
  • Skip to main content
  • Skip to primary sidebar
  • Skip to footer

Sweet Love and Ginger

  • Home
  • About
  • Recipes
  • Garden
  • Work With Me

12-12-12

12-12-12 Project Wrap Up

By Jessica

This post may contain affiliate links. I may receive commissions for purchases made through links in this post.

IMG_7154

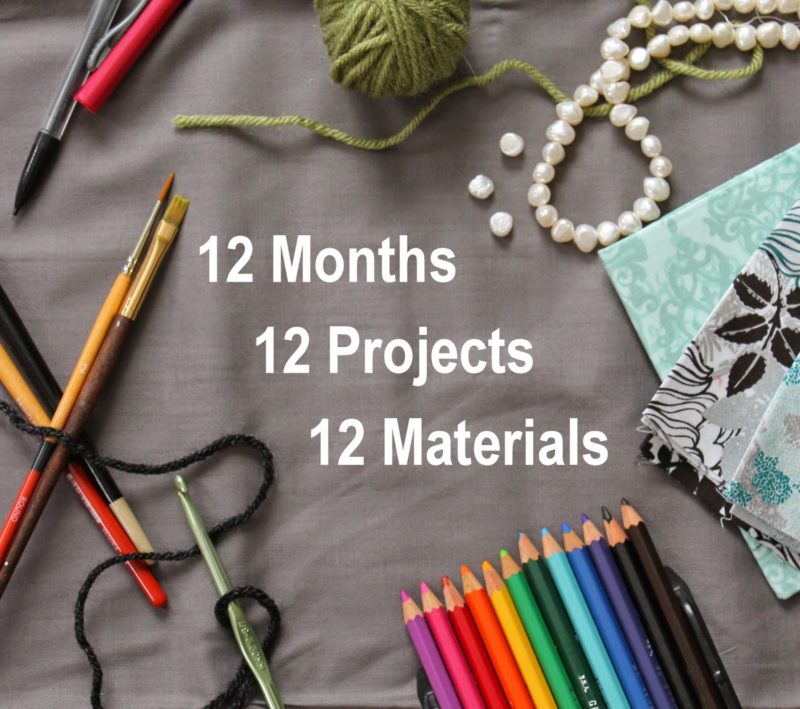
A year has gone by and the 12-12-12 project is complete. I may be short by one project but sometimes that’s just how it goes. I have started a number of projects that were originally sparked by this challenge that I’m hoping to post soon. I just can’t seem to get them all done in the allotted time. I suppose that’s what happens when you take on a challenge like this the same year that you get married, and buy a house.

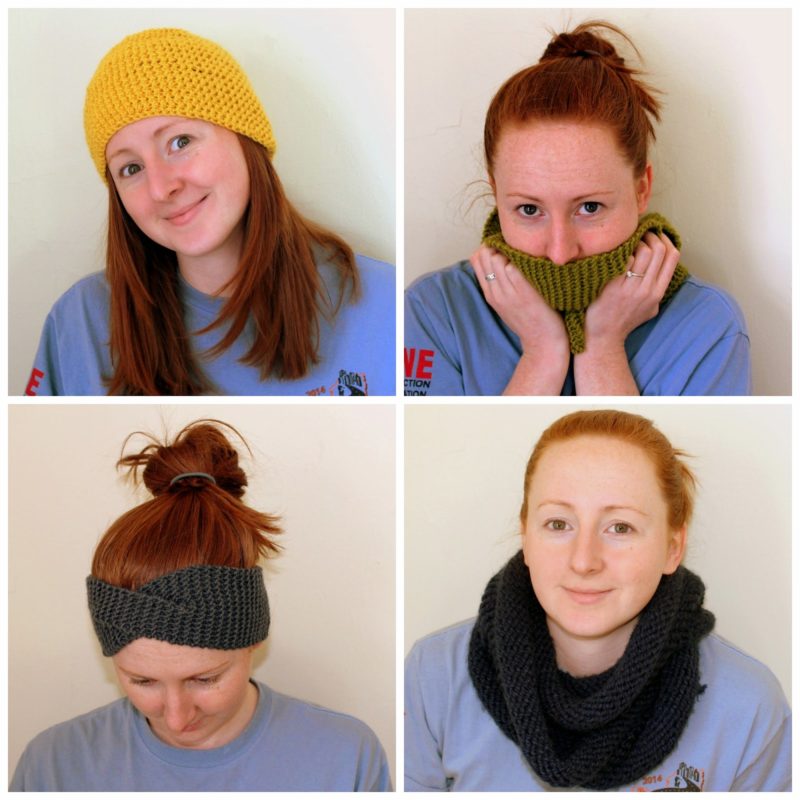
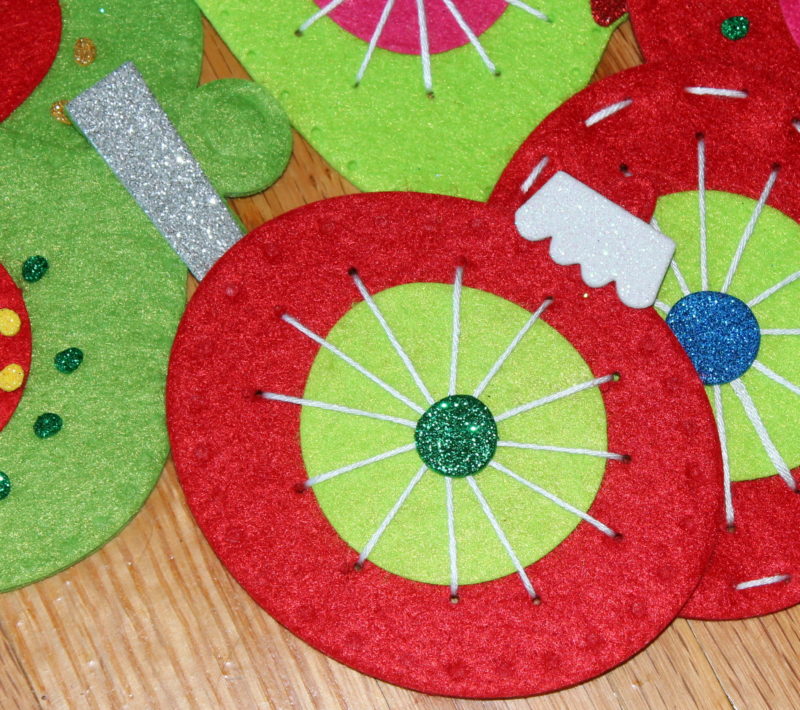
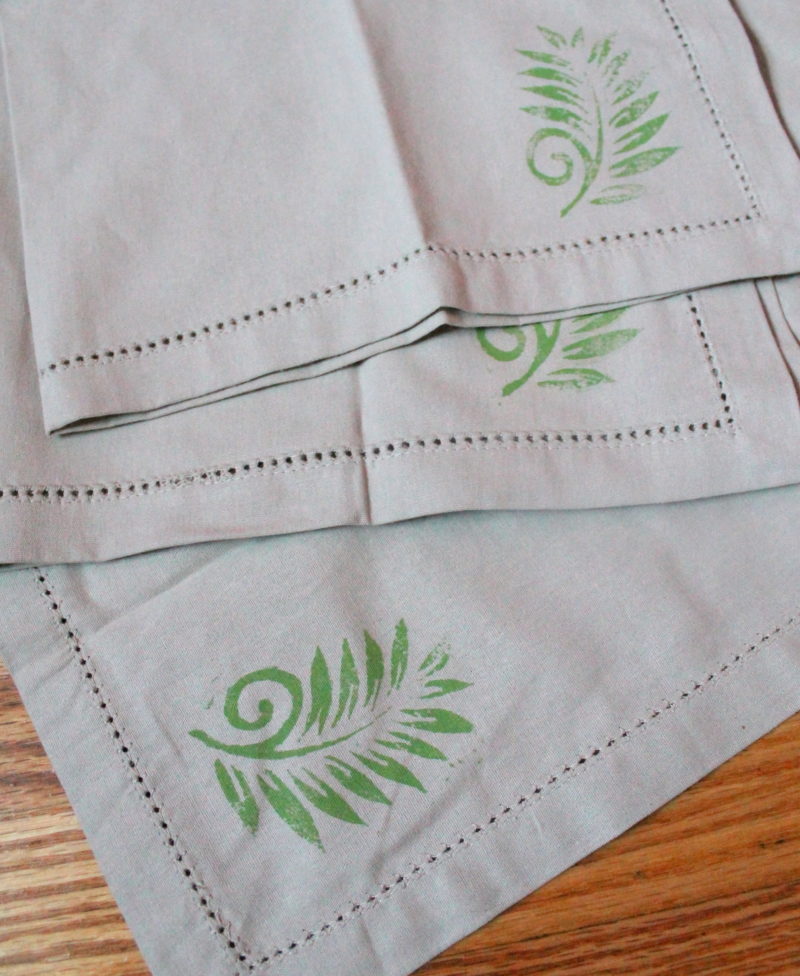
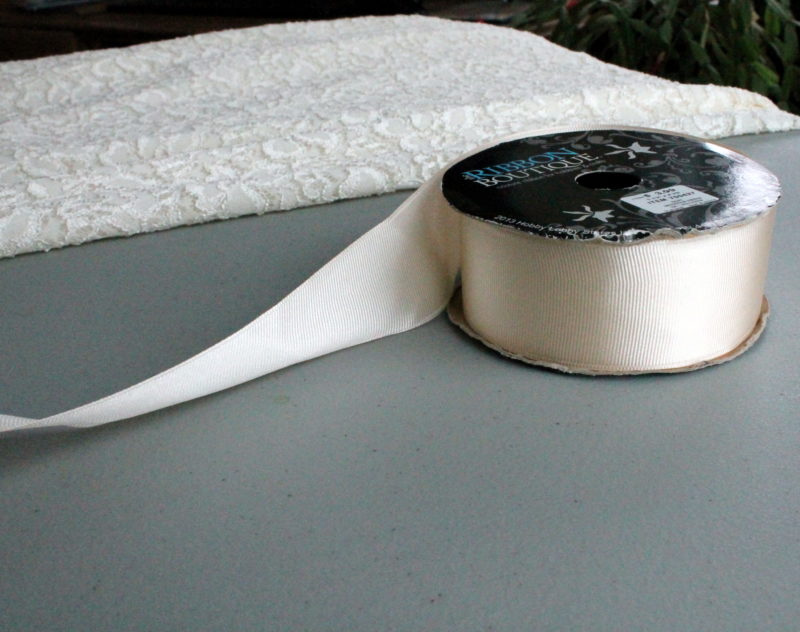
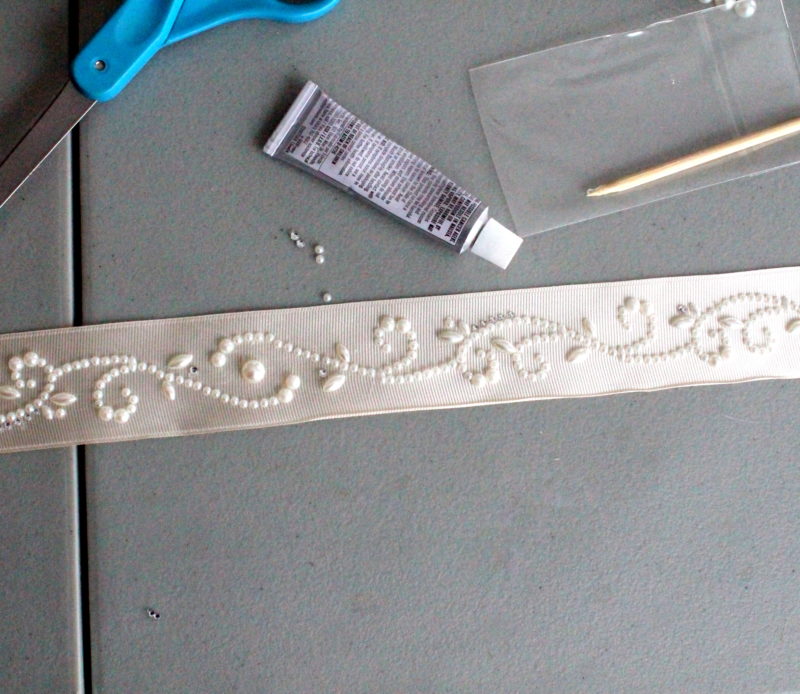
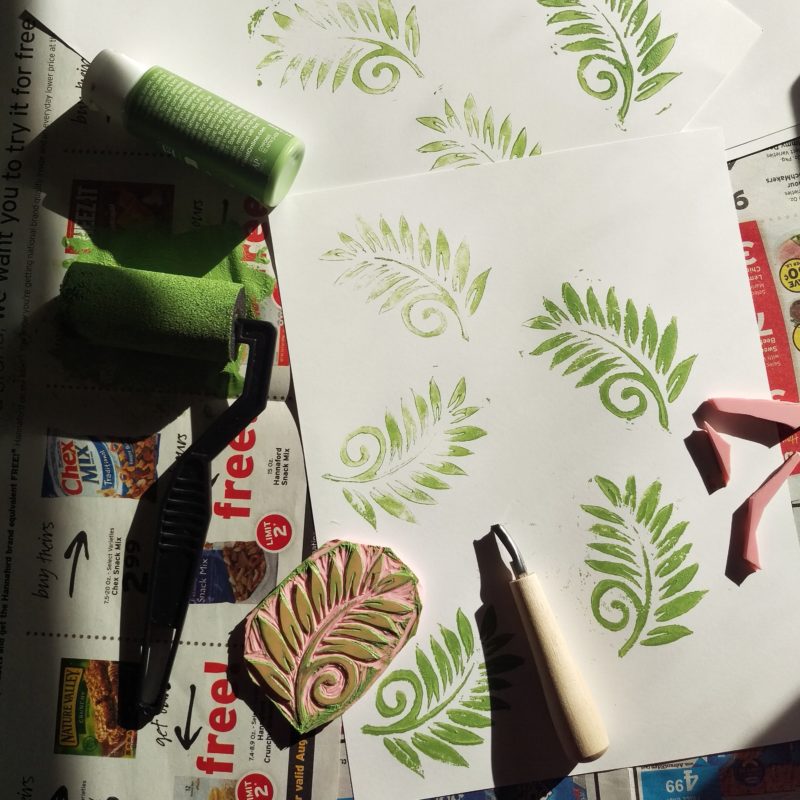
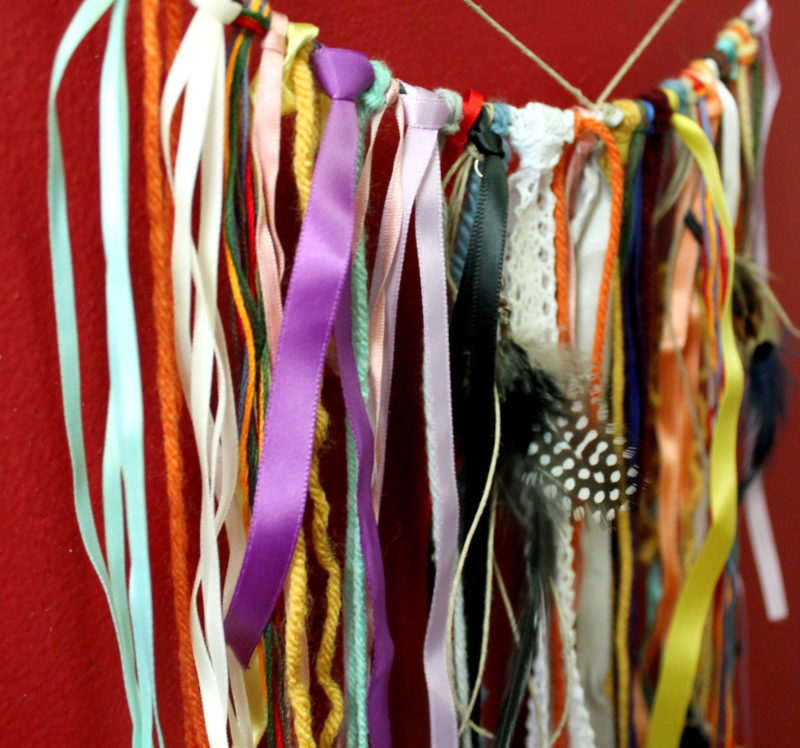
For this challenge I re-taught myself to knit and crochet, built a wooden back drop, put together a photo book, learned to wood burn, made soap with my sister, made a dream catcher, designed and created a print that still resides in my kitchen, made a ribbon belt for my wedding (also saving a bunch of money on it), glued and cut felt to make a garland, carved and hand stamped my own napkins, and played with rocks.

IMG_7027

As far as challenges go I’m pretty pleased with this one. I was forced to thing outside the box and push my comfort zone and do a number of things I don’t think I would have otherwise. Of course I’m disappointed that I didn’t complete all 12 projects, but I’m letting it get to me. I finish way more than 12 projects this year, but many could not be counted toward this project because they were too similar to others. For example I completed a number of hats, scarves and blankets either knitting or crocheting, which was also the first project I completed with this challenge.

Hand Stamping

The challenge was able to spark a slew of creative ideas and projects for me, which was the whole goal anyway. With that I am happy, and I’m also happy to release the pressure of coming up with and completing a project each month. For someone with a full time job, and a blogging side hustle it was a lot more work than I anticipated.

IMG_8009

For 2016 there will be no more craft projects, since we have a number of house projects and travel plans in the works. That’s not to say that craft projects won’t still appear here on the blog, but they won’t be in the restricted fashion that’s required of a challenge.

February 15, 2016 December 5, 2017 Filed Under: 12-12-12, Crafts

Felt Ornament Garland

By Jessica

This post may contain affiliate links. I may receive commissions for purchases made through links in this post.

This is Project No. 10 in the 12-12-12 series.

IMG_9043

I had big plans to paint or make really nice ornaments for our tree this year, but that just isn’t happening since I’ve realized that we have a million ornaments and no other decorations. Not that I’m really one to want a ton of decorations but considering that this coming weekend we are hosting two holiday events at our home I thought it might be pertinent to have a few other things scattered around.

I picked up a felt ornament kit at Micheals on a whim and decided to make them to hang in the kitchen. It was ridiculously easy, and After making half of the ornaments in the kit I already had more than I needed. I think this would make a great and super inexpensive project to do with kids.

IMG_9045

I thought this project was a little too easy to really count in this series, but this month has been so crazy that it’s the only craft project that I actually completed so I decided to post it anyway. Again its a great inexpensive project for kids or for those who like me are looking for low budget decorations for the holiday season,

December 21, 2015 December 5, 2017 Filed Under: 12-12-12, Crafts

Hand Stamped Linen Napkins

By Jessica

This post may contain affiliate links. I may receive commissions for purchases made through links in this post.

This is project number 9 in my 12-12-12 Series. This project involves hand carving rubber to create stamps for custom stamped linen napkins. 

Hand Stamping

Once in a while you hit it big, that’s something that the above picture did for me yesterday. I posted to instagram on a whim thinking this light is cool and I havent posted in a while. Well It went viral (for me that is), getting roughly 4 times the likes of any instagram post ever. If someone could tell me what it is about this picture that made it so popular that would be great.

I digress you are here to read about my most recent project right?

 Hand Stamped Linen Napkins

I had this project on my mind for a while. In fact I bought the stuff to make it way back in June, however as you can probably guess life took over, I lost the kit in the move for a while and so I never got to actually do anything with it until now. I really liked this craft and I definitely believe that it is something I would do again, probably in the near future, when I get an actual dinning room table (finger crossed we find one we like soon!).

This project was pretty easy so I thought I’d break it down into simple steps for you.

  1. I bought this kit (Speedball Speedy Carve Stamp Making Kit).
  2. Next I drew the design that I wanted and carefully carved it with the tools in the kit and used scissors to cut out the final design.
  3. I used fabric paint and a cheap foam roller from the craft store to roll the paint onto the stamp.
  4. Carefully placed the stamp onto the fabric and applied light pressure.
  5. Once dry I ironed the fabric where the stamp was placed and tossed it into the wash to make sure it had set.

Hand Stamped Linen

I was really happy with how these turned out. I like the kind of worn in look that they have and think that they will go great in my dining room, once it’s back together. The napkins I bought in white from your typical box store, since I didn’t want to spend to much money on this first trial run. The next napkins will probably be on a littler better quality linen.

Have you been working on any new projects lately? I need some ideas for the last few projects in this series and I’d love to see what you guys are into.

Check out my other craft projects here.

November 30, 2015 November 30, 2015 Filed Under: 12-12-12, Crafts

3D Stone Art

By Jessica

This post may contain affiliate links. I may receive commissions for purchases made through links in this post.

This is project number 8 in my 12-12-12 Series. This project involves stones and rocks used to form a unique art piece for the home.


I like rocks.

Weird I know, but it’s kind of how I ended up an engineer. I mean I got to take a whole class (2 actually) that studied different types of dirt. We also had classes in other materials, but obviously I like dirt and rocks. I’m always in awe of the history that comes with a simple stone. Just a hunk of matter all connected haphazardly, like with sand stone or in specific structures such as with quartz. Yeah I’m that girl.

As you can probably guess this little interest of mine has from a very young age taken form in collecting rocks. I have quite the collection. Over time I have given a lot away (my siblings tend to share this weirdness) or just tossed them in the yard to be discovered another day, and only kept my favorites. Those deemed good enough to stay are kept in a glass jar or two around the house, which honestly is a pretty terrible way to display some of nature’s most beautiful work if you ask me.

I decided that I wanted to do some kind of display or craft with my rocks pretty soon after we moved in. Nothing like finding things in a move to get the creative juices flowing right?

IMG_8703

The thing with displays that I’ve never been a fan of is the dusting, so I decided to go with a shadow box for this project. My adhesive of choice was good old hot glue. This little gun and I have been pretty good friends lately, what with this project and all the wedding projects.

At first I grouped some of my favorites together by color and used these basic groups to create a gradient style design and then glued them in place. For now this piece resides in the guest room, mainly because it’s the only room that’s got any hooks on the walls, but also because I think the red/pink gradient goes really well with the other colors in the room.

I’m happy to have a place to display some of my stones and might just do this with some  of my grey, blue and green stones next.

October 12, 2015 February 12, 2018 Filed Under: 12-12-12, Crafts

DIY beaded Ribbon Belt for a Wedding

By Jessica

This post may contain affiliate links. I may receive commissions for purchases made through links in this post.

IMG_7028

I’ve mentioned before that a lot of things for this wedding I made myself, most of the wedding dress was no exception. I’ll get to more of the details on that later, for now I just want to talk about one piece of the dress; the belt.

Honestly I had no plans on wearing a belt until I went dress shopping and tried one on. My family really liked the way it looked on me, and since I chose such a simple dress they liked the way a little glitz looked with it. Who am I to argue? Except when it got down to the price.

A simple beaded belt ran as cheap as $200. Yeah read that again. I was floored, that cost more than my dress (again we will talk about the dress more in the future). There was no way I was going to pay that kind of money for a belt that I would never wear again. So the only obvious solution was to make it myself.

IMG_7027

I had a million ideas and bought a ton of supplies to start with but what I ended up using cost less than $15. Would you like to know the secret? I used stick on beads from the craft paper section (similar stickers). That’s right these beads were meant to stick on scrap books. I chose to use them for a number of reasons; for one they already had a pretty rad design that I didn’t have to think up myself. Secondly they just stuck on, so there was no sewing necessary, which saves so much time. Third they were actually cheaper than the pearls and rhinestones made for sewing on that I wanted to use. I was afraid, and correctly so that they wouldn’t stick well to the fabric so I also invested in some E6000® Craft Adhesive as well. The glue worked like a charm and kept those babies on the ribbon.

This project was done in just one afternoon. It was as simple as peal, glue and stick. I did reshape parts of the design and add to it, but that wasn’t really too complex. I decided to keep the design basic and understated since that’s the look of the dress, though I don’t think it would have been too hard to go crazy with the rhinestones.

I really enjoyed this project and am completely thrilled with the results. I even got compliments on it from people who had no idea that I made it myself. I’m even more pleased to have such a big hand in the design of my final outfit for my wedding day, without spending a ton of money something that I would only wear once.

September 21, 2015 September 9, 2015 Filed Under: 12-12-12, Crafts, Wedding Tagged With: Wedding

  • Page 1
  • Page 2
  • Page 3
  • Go to Next Page »

Primary Sidebar

  • Facebook
  • Instagram
  • Pinterest
  • Twitter
  • YouTube
Hi, I'm Jessica. I'm an herbalist living in the great northeast with my husband Chuck, our two little boys, our dog Brody and a flock of chickens. I'm all about real, good food and good times with awesome people. I spend a lot of time outside, in my garden, and concocting potions and helping people feel their best. I also like tea, reading, and about a million other hobbies. I'm so happy your here on this adventure with me.

Footer

Copyright © 2025 · Foodie Pro Theme On Genesis Framework · WordPress · Log in