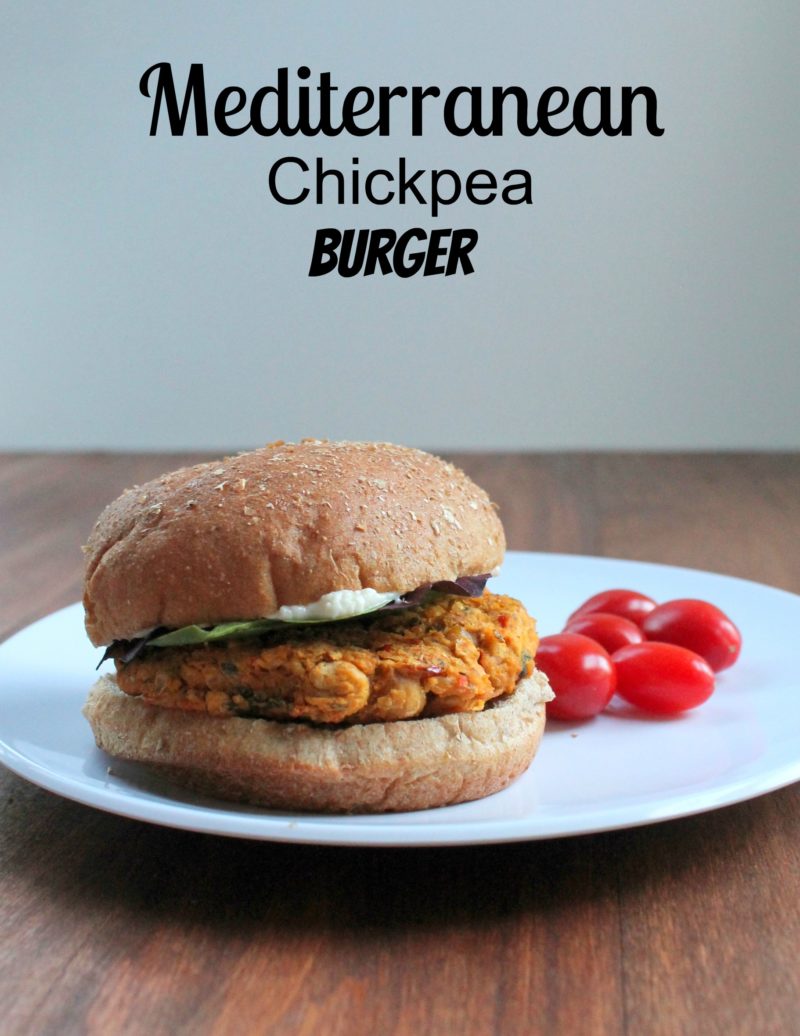
This is a great Copy Cat recipe for Morningstar Farms Mediterranean Chickpea Burgers that is full of flavor!
Remember way back when I did that whole Part Time Vegetarian thing? Well I’m still kind of doing it. I say kind of because I haven’t really kept track of what I eat in about 3 months, but while writing this post I decided to give my diet for the last little while a run down, and aside from a couple weekends I’m still doing it with out even thinking about it. How awesome is that.
For those of you who don’t know Part Time Vegetarian, basically means that I only eat meat after 6 pm or with dinner. You can read more about why I started it in this post.
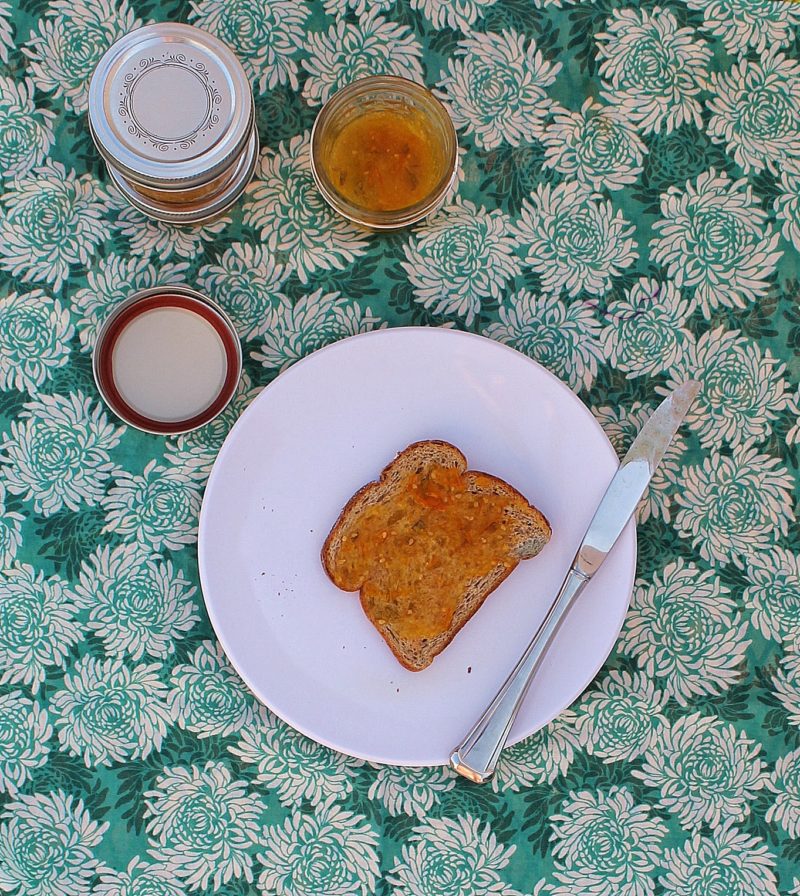
No when this whole thing started I was reliant on humus, bean burritos and MorningStar![]() products, but as time passes I have really expanded my horizons with hearty salads, tofu, and lots of veggie packed soups (I really love soup). I have also gotten a lot better about eating breakfast, and this Juice
products, but as time passes I have really expanded my horizons with hearty salads, tofu, and lots of veggie packed soups (I really love soup). I have also gotten a lot better about eating breakfast, and this Juice![]() has become a staple snack in my life. I find myself craving vegetables like eggplant and zucchini, things that I was previously convinced that I didn’t like.
has become a staple snack in my life. I find myself craving vegetables like eggplant and zucchini, things that I was previously convinced that I didn’t like.
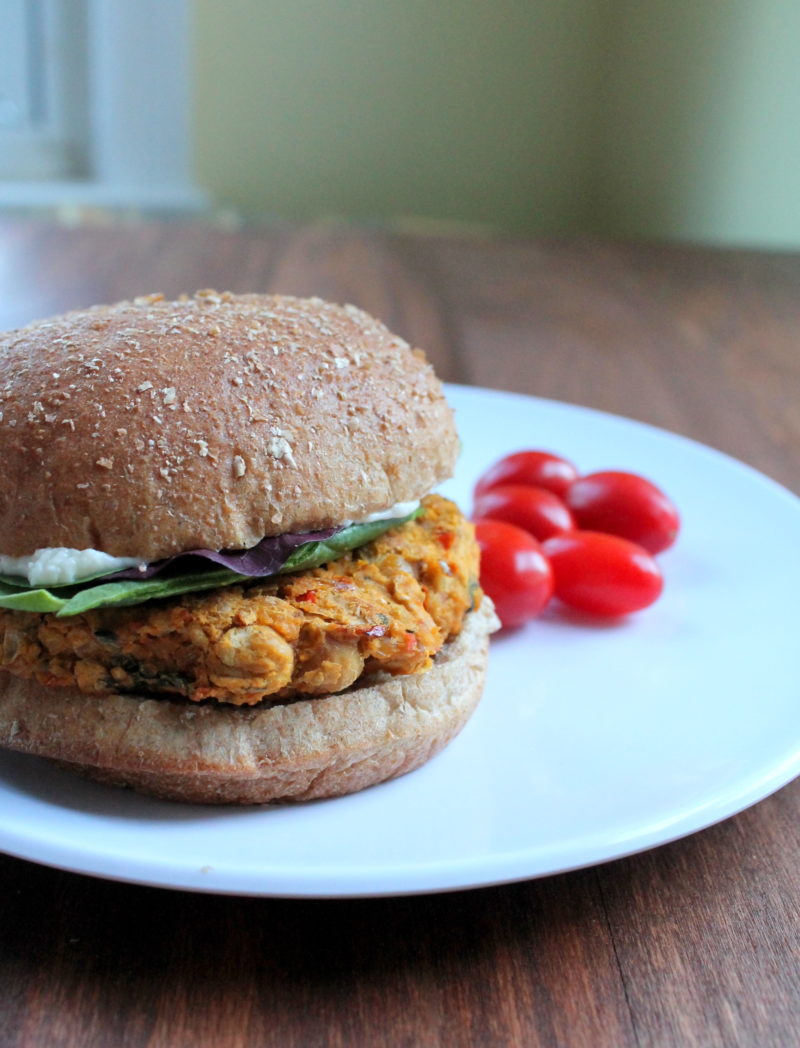
One of the things I started doing now that summer has hit is experiment with veggie burgers, which are incredibly satisfying and something I don’t know why I didn’t try more often before. I’m pretty sure that I perfected my own version of my all time favorite MorningStar Mediterranean Chickpea Burgers![]() . These burgers from morning start are packed with flavor and great not only in burger form, but cut up in a wrap or on a salad. With this recipe I am able to make my own version in bulk for way cheaper, and then freeze them individually so that I can use them as needed. If you hadn’t noticed I’ve been into that lately.
. These burgers from morning start are packed with flavor and great not only in burger form, but cut up in a wrap or on a salad. With this recipe I am able to make my own version in bulk for way cheaper, and then freeze them individually so that I can use them as needed. If you hadn’t noticed I’ve been into that lately.
The trick to keeping these from sticking together when frozen is to freeze them on a sheet tray first and then stack them with wax paper in between before sealing them up.

I know you are just going to love my copy cat recipe for these burgers. They are so flavorful, and have a dynamic texture that makes it hard to stop after just one!
- 2 (15 Ounce) cans chickpeas, drained and rinsed
- 1 roma tomato, deseeded & chopped
- 1 cup packed fresh baby spinach
- 2 tablespoons rice flour + more if needed
- ½ teaspoon garlic powder
- 1 teaspoon onion powder
- ¼ teaspoon salt
- 1 ½ teaspoons lemon juice
- ½ teaspoon paprika
- ½ teaspoon cumin
- ¼ teaspoon tumeric
- Place chickpeas, tomato, spinach, salt and lemon juice in a blender and pulse until the mixture is chunky. You may need to stop and scrap the sides to get it all even, however do not allow it to get smooth.
- Transfer the mixture to a large bowl and with a fork gently fold in the rice flour, garlic, salt, lemon juice, paprika, cumin, and turmeric.
- With your hands form the mixture into patties. If it is too sticky fold in some more rice flour a teaspoon at a time. If it is too dry add a drop or two of water.
- Once 6 to 8 patties are formed place them on a flat surface to be placed in the refrigerator for 30 minutes or the freezer for 10 minutes. This will help them hold together while cooking.
- Preheat the oven to 375 degrees. Place the cold patties on a greased baking sheet and bake for 12-15 minutes per side.
- Serve immediately.
What are your favorite vegetarian burger recipes?
Related Posts:

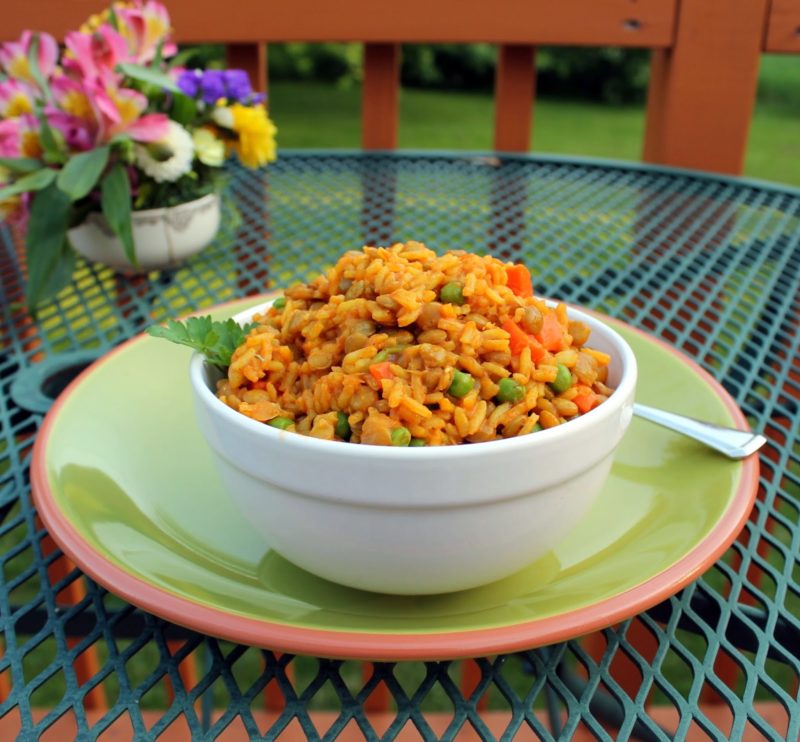
Moroccan Chickpea Chili
Chicken Caesar Burger

Loaded Greek Salad