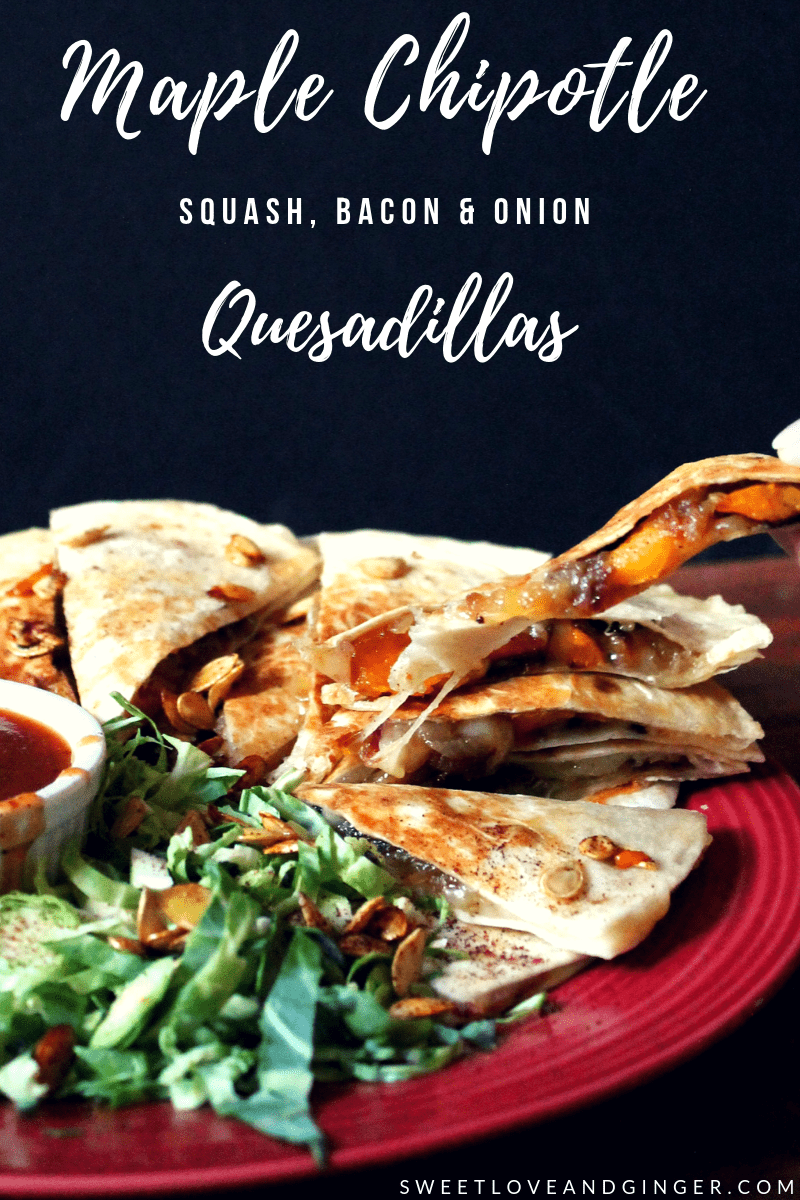
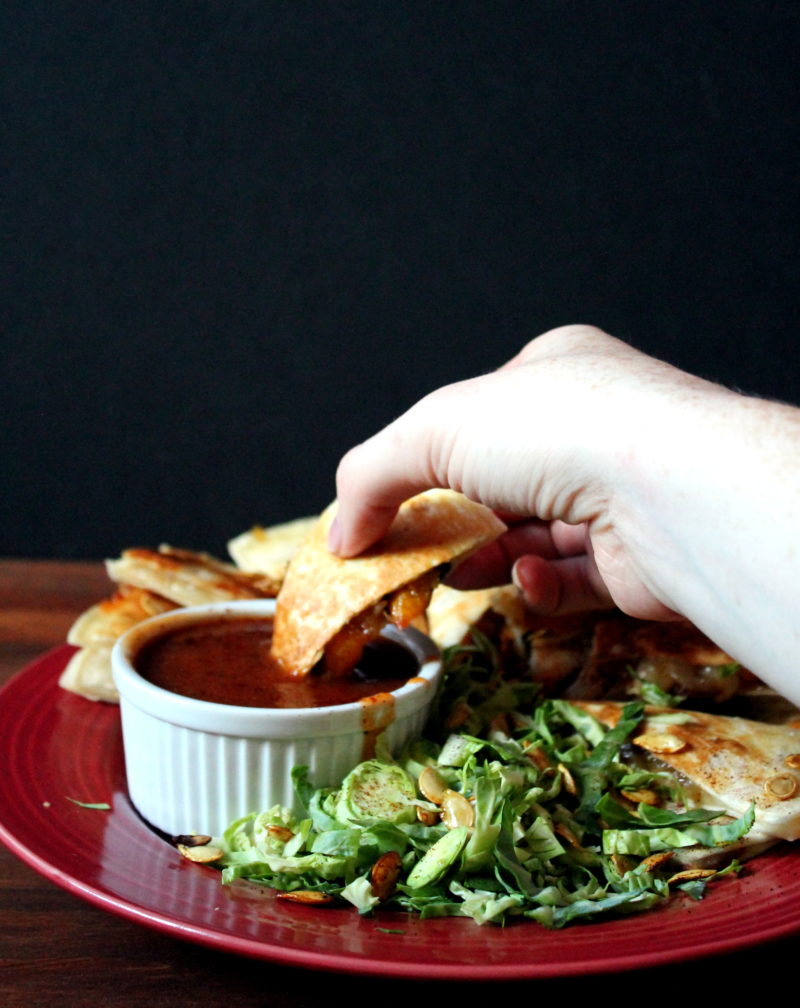
These Maple Chipotle Butternut Squash, Bacon, and Onion Quesadillas are the perfect appetizer for any fall party and are sure to be a big hit!

So you know how sometimes I go on a tirade and tell you guys how much of a genius I am for coming up with something new and delicious? (exhibit A) Well, today is one of those days. Today I may very well have come up with one of the best fall appetizer recipes I have ever tried. You guys, I’ve eaten a lot of things.
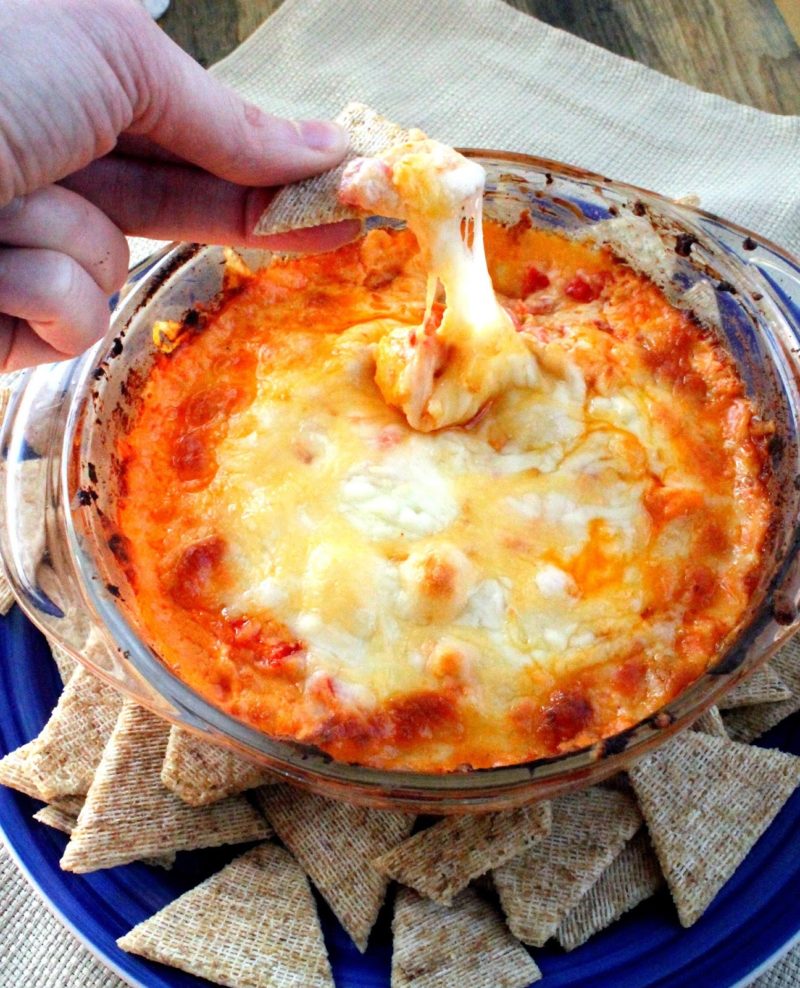
It’s got all the calling cards of a great fall treat. It’s hot and oozy. There are bacon and cheese! It’s a little messy. There is dipping sauce. And it can be eaten with your hands! Seriously those are like all of the calling cards am I right?

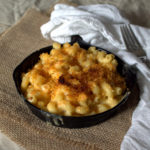
You all know I love smoked cheddar since I’ve made it into soup, mac & cheese, and a few other things. Well, the same goes for maple and chipotle, so when the idea struck me to slap these two amazing flavors together I was, in fact, a bit scared. Let’s be serious though what could go wrong with this exactly? They maple smoke bacon and cheddar already I’m just doing what I feel is right here in combining these things with even more maple and chipotle.
Seriously, people, it was so right.
Then the maple chipotle barbecue sauce comes into play and it’s just freakin heaven. Now, this sauce is one of my favorites I’ve made it a few times for various events and it’s always well received. I added some shredded Brussels sprouts and chipotle toasted squash seeds (sprinkle with salt, chipotle powder and roast @ 300 for 10 to 15 minutes) to top the barbecue dipped quesadilla triangles because of everyone like a little freshness and some crunch.
Maple Chipotle Squash, Bacon & Onion Quesadillas
- 2 cups butternut squash cubed
- 1 teaspoon chipotle chili powder
- ½ tsp chili powder
- 2 tablespoons olive oil
- ½ teaspoon salt
- Pinch of pepper
- 2 tablespoons of unsalted butter
- 1 tablespoon olive oil
- 3 onions (sliced thin)
- Pinch of salt
- 1 teaspoon sugar
- 4 slices of bacon (cooked & crumbled)
- 6-8 large tortillas
- 2 – 3 cups shredded smoked cheddar cheese
Maple Chipotle Barbecue Sauce
- ¼ cup pure maple syrup
- 1 tablespoon tomato paste
- ½ teaspoon salt
- ½ tablespoon onion powder
- 1 teaspoon garlic powder
- 1/3 cup brown sugar
- 2 chipotle chilies in adobo sauce (minced)
- ¼ cup apple cider vinegar
- ½ teaspoon fresh cracked pepper
- Combine all ingredients in a saucepan over medium-high heat. Bring to a boil and then reduce to a simmer and cook for 5 minutes or until the sauce thickens. If the sauce is too thick add water by the tablespoon until desired thickness is reached. Set aside.
- Preheat the oven to 425 degrees. In a large bowl combine olive oil, chipotle powder, chili powder, salt and pepper, until well blended. Add the butternut squash and toss to coat. Spread the squash on a baking sheet and place in the oven for 25 to 30, minutes or until fork tender.
- While the squash cooks heat the butter and oil over medium high heat. Add the onions and a pinch of salt and cook, stirring constantly, until the onions begin to soften, about 5 minutes. Stir in the sugar and continue to cook for about 20 minutes, regularly scraping the brown bits from the pan. The onion should become brown and soft when done.
- Heat a large skillet over medium high heat. Place 1 tortilla in the pan and top with a fourth of the squash, onions, bacon and cheese. Place another tortilla on top. Once the bottom tortilla begins to brown, 2 to 3 minutes, carefully flip the quesadilla and cook for another 2 to 3 minutes. Remove from heat and cut into equal sized triangles before serving. Repeat until ingredients are gone.
Similar Recipes:
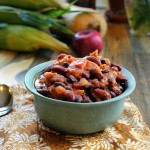
Maple Chipotle Turkey Chili
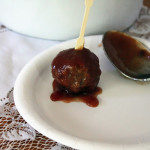
Apple Spice Meatballs

Classic Scalloped Potatoes