• Skip to primary navigation
  • Skip to main content
  • Skip to primary sidebar
  • Skip to footer

Sweet Love and Ginger

  • Home
  • About
  • Recipes
  • Garden
  • Work With Me

Condiment

Maple Chipotle Squash, Bacon & Onion Quesadillas

By Jessica

This post may contain affiliate links. I may receive commissions for purchases made through links in this post.

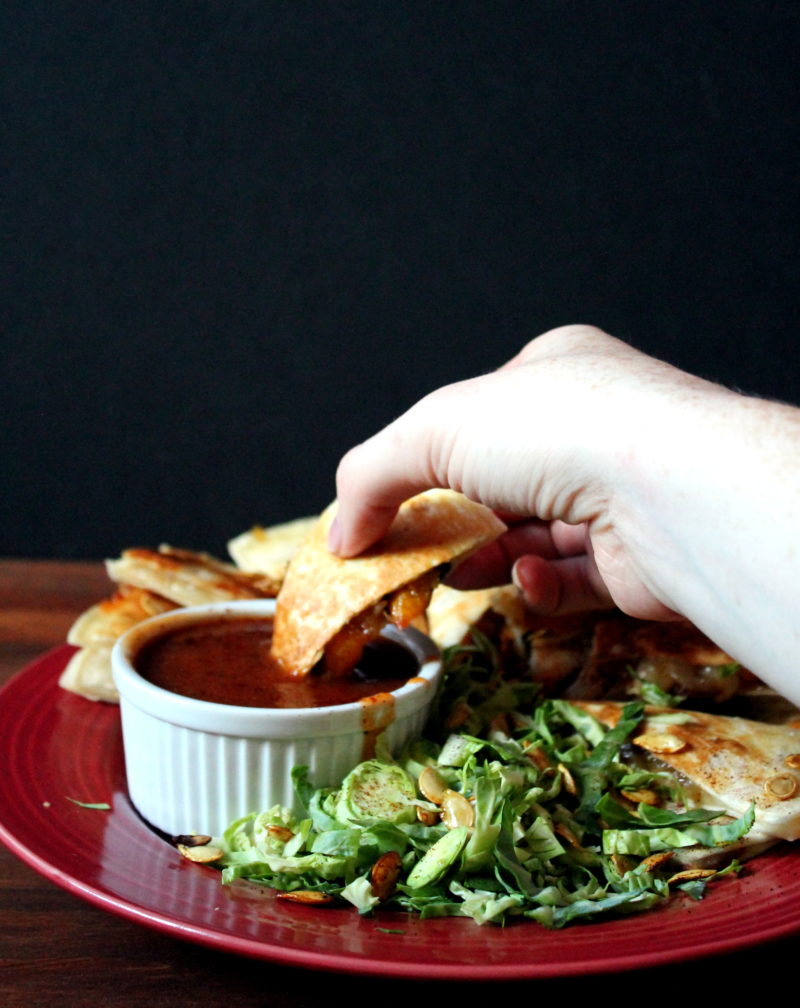
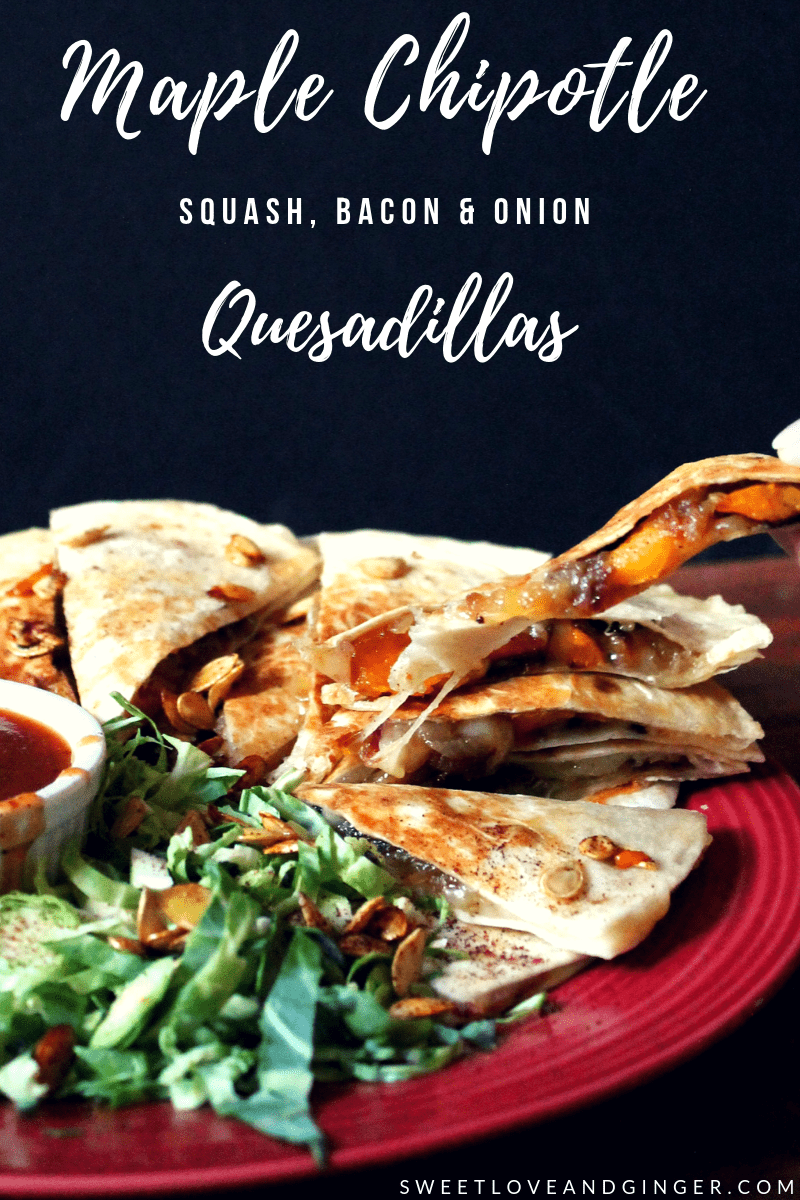
These Maple Chipotle Butternut Squash, Bacon, and Onion Quesadillas are the perfect appetizer for any fall party and are sure to be a big hit!

Maple Chipotle Squash, Onion & Bacon Quesadillas

So you know how sometimes I go on a tirade and tell you guys how much of a genius I am for coming up with something new and delicious? (exhibit A) Well, today is one of those days. Today I may very well have come up with one of the best fall appetizer recipes I have ever tried. You guys, I’ve eaten a lot of things.

It’s got all the calling cards of a great fall treat. It’s hot and oozy. There are bacon and cheese! It’s a little messy. There is dipping sauce. And it can be eaten with your hands! Seriously those are like all of the calling cards am I right?

Maple Chipotle Squash, Onion & Bacon Quesadillas

You all know I love smoked cheddar since I’ve made it into soup, mac & cheese, and a few other things. Well, the same goes for maple and chipotle, so when the idea struck me to slap these two amazing flavors together I was, in fact, a bit scared. Let’s be serious though what could go wrong with this exactly? They maple smoke bacon and cheddar already I’m just doing what I feel is right here in combining these things with even more maple and chipotle.

Seriously, people, it was so right.

Then the maple chipotle barbecue sauce comes into play and it’s just freakin heaven. Now, this sauce is one of my favorites I’ve made it a few times for various events and it’s always well received. I added some shredded Brussels sprouts and chipotle toasted squash seeds (sprinkle with salt, chipotle powder and roast @ 300 for 10 to 15 minutes) to top the barbecue dipped quesadilla triangles because of everyone like a little freshness and some crunch.

Maple Chipotle Squash, Onion & Bacon Quesadillas

Maple Chipotle Squash, Bacon & Onion Quesadillas

  • 2 cups butternut squash cubed
  • 1 teaspoon chipotle chili powder
  • ½ tsp chili powder
  • 2 tablespoons olive oil
  • ½ teaspoon salt
  • Pinch of pepper
  • 2 tablespoons of unsalted butter
  • 1 tablespoon olive oil
  • 3 onions (sliced thin)
  • Pinch of salt
  • 1 teaspoon sugar
  • 4 slices of bacon (cooked & crumbled)
  • 6-8 large tortillas
  • 2 – 3 cups shredded smoked cheddar cheese

Maple Chipotle Barbecue Sauce

  • ¼ cup pure maple syrup
  • 1 tablespoon tomato paste
  • ½ teaspoon salt
  • ½ tablespoon onion powder
  • 1 teaspoon garlic powder
  • 1/3 cup brown sugar
  • 2 chipotle chilies in adobo sauce (minced)
  • ¼ cup apple cider vinegar
  • ½ teaspoon fresh cracked pepper
  1. Combine all ingredients in a saucepan over medium-high heat. Bring to a boil and then reduce to a simmer and cook for 5 minutes or until the sauce thickens. If the sauce is too thick add water by the tablespoon until desired thickness is reached. Set aside.
  2. Preheat the oven to 425 degrees. In a large bowl combine olive oil, chipotle powder, chili powder, salt and pepper, until well blended. Add the butternut squash and toss to coat. Spread the squash on a baking sheet and place in the oven for 25 to 30, minutes or until fork tender.
  3. While the squash cooks heat the butter and oil over medium high heat. Add the onions and a pinch of salt and cook, stirring constantly, until the onions begin to soften, about 5 minutes. Stir in the sugar and continue to cook for about 20 minutes, regularly scraping the brown bits from the pan. The onion should become brown and soft when done.
  4. Heat a large skillet over medium high heat. Place 1 tortilla in the pan and top with a fourth of the squash, onions, bacon and cheese. Place another tortilla on top. Once the bottom tortilla begins to brown, 2 to 3 minutes, carefully flip the quesadilla and cook for another 2 to 3 minutes. Remove from heat and cut into equal sized triangles before serving. Repeat until ingredients are gone.

Similar Recipes:

Maple-Chipotle-Turkey-Chili-2

Maple Chipotle Turkey Chili

Apple-Spice-Meatballs

Apple Spice Meatballs

Classic Scalloped Potatoes

Classic Scalloped Potatoes

October 28, 2015 October 23, 2018 Filed Under: Appetizer, Pork, Recipe Tagged With: appetizer, Condiment, Vegetarian

Bruschetta Chicken Salad with Parmesan Peppercorn Dressing

By Jessica

This post may contain affiliate links. I may receive commissions for purchases made through links in this post.

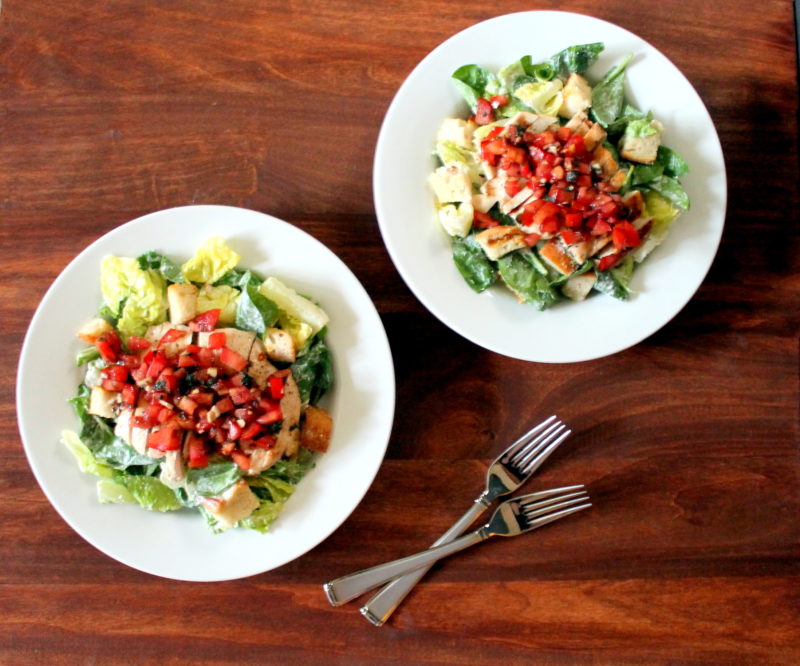
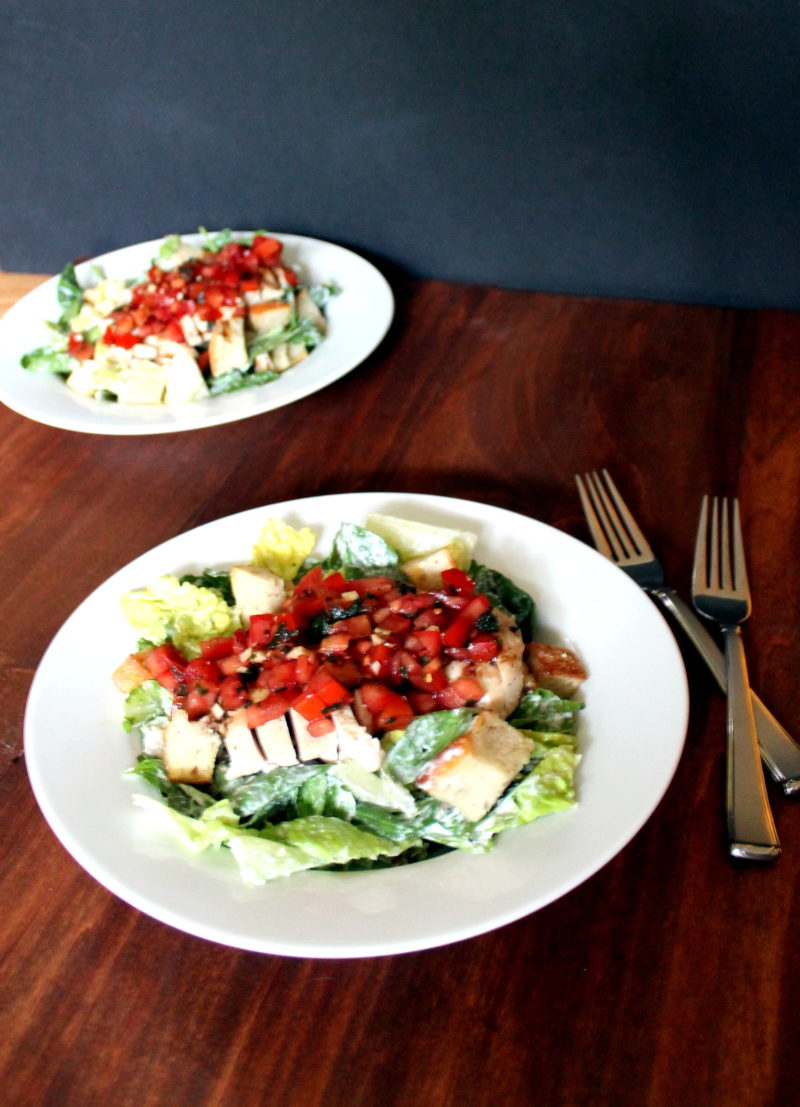
Bruschetta Chicken has taken on a whole new form with this Salad recipe that combines Creamy Parmesan Peppercorn Dressing with crunchy garlic croutons.

Bruschetta Chicken Salad with Parmesan Peppercorn Dressing

Tomato season is a much loved season in our home. I love picking sun warmed tomatoes from the vine and eating them right away or chopping them up and tossing them in basically everything.

Unfortunately the whole moving/wedding thing has pushed my garden down on the priority list this summer, so my tomatoes are not what they could have been, but I’m still getting a few. I’ve been enjoying my fair share of BLT’s (this one is my favorite), and fresh tomato sauce. I’ve been forced to buy a few from the farm stands that surround our house to support my cravings. I seriously think we hit the jackpot with those, they are everywhere and everything is so fresh!


Typically when I make brushetta chicken I put it over alfredo, or pesto pasta, however since we are trying desperately here to keep ourselves in shape for the last few weeks before the wedding I thought a salad might be a better idea. Not that it stopped me from making the best Parmesan Peppercorn Dressing ever and dreamy garlic croutons. I stick by the idea that there is spinach so it’s still healthy.

Bruschetta Chicken Salad with Parmesan Peppercorn Dressing

This salad is very reminiscent of the usual Chicken Caesar that you would order in a restaurant. You know the type; romaine lettuce and croutons drenched in a creamy thick dressing. Oh yes, it’s so good right? Now just take that image and toss some warm juicy chicken on top with some good balsamic and fresh in season tomatoes. The tangy, fresh tasting balsamic drips its way down to the creamy and cheesy dressing, it’s like a happy dance is happening in your mouth. It’s like crack and you can’t stop until every last drop is gone. It’s a good thing you saved that bread heal from the croutons to soak up the last little bit.

When did I start talking in the third person? Whatever. You get my point here. This might just be my favorite salad ever. I love it, and you should definitely try it immediately.

Bruschetta Chicken Salad with Parmesan Peppercorn Dressing

Creamy Parmesan Peppercorn Dressing

½ cup mayonnaise

½ cup sour cream

1 tablespoon white wine vinegar

2 tablespoons milk

3 tablespoons parmesan cheese

2 teaspoons fresh cracked pepper

¼ teaspoon garlic powder

¼ teaspoon onion powder

Pinch of salt

Whisk together all ingredients in a bowl until well combined. Let stand for 10 minutes to overnight before serving. Can remain in the refrigerator for up to 2 weeks.


Bruschetta Chicken Salad with Parmesan Peppercorn Dressing
Prep time: 10 mins
Cook time: 20 mins
Total time: 30 mins
Serves: 2-3 Servings
Ingredients
  • 1 to 2 cups of day old bread, cubed
  • 2 tablespoons olive oil
  • 1 teaspoon garlic powder
  • Pinch of salt
  • 1 teaspoon parsley flakes
  • 2 small boneless skinless chicken breasts
  • Salt & pepper to taste
  • 2 roma tomatoes, diced
  • 2 cloves of garlic, minced
  • 1 tablespoon basil, chopped
  • 1 tablespoon balsamic vinegar
  • 2 cups romaine lettuce, chopped
  • 2 cups baby spinach, loosely packed
  • ¼ cup Creamy Parmesan Peppercorn Dressing
Instructions
  1. Preheat the oven to 425 degrees. On a baking sheet toss the cubed bread with olive oil, garlic powder, salt, and parsley. Place in the oven and cook for 6 minutes, or until the bread begins to turn golden brown. Remove from heat and toss carefully. Set aside.
  2. Season the chicken well and place it on a preheated grill. Cook for 4 minutes, flip and cook for another 4 minutes or until the chicken is cooked through. Remove from heat and set aside.
  3. In a small bowl combine the tomatoes, minced garlic, basil, and balsamic. Set aside.
  4. In a large bowl combine the lettuce, spinach, and croutons with the dressing and toss well to coat.
  5. On each plate place a layer of coated lettuce and croutons. Add chicken and top with tomato mixture and serve.
3.3.3077


August 26, 2015 October 23, 2018 Filed Under: Chicken/Turkey, Main Dish, Recipe, Salad Tagged With: Chicken, Condiment, salad

Homemade Fajita Spice Mix

By Jessica

This post may contain affiliate links. I may receive commissions for purchases made through links in this post.

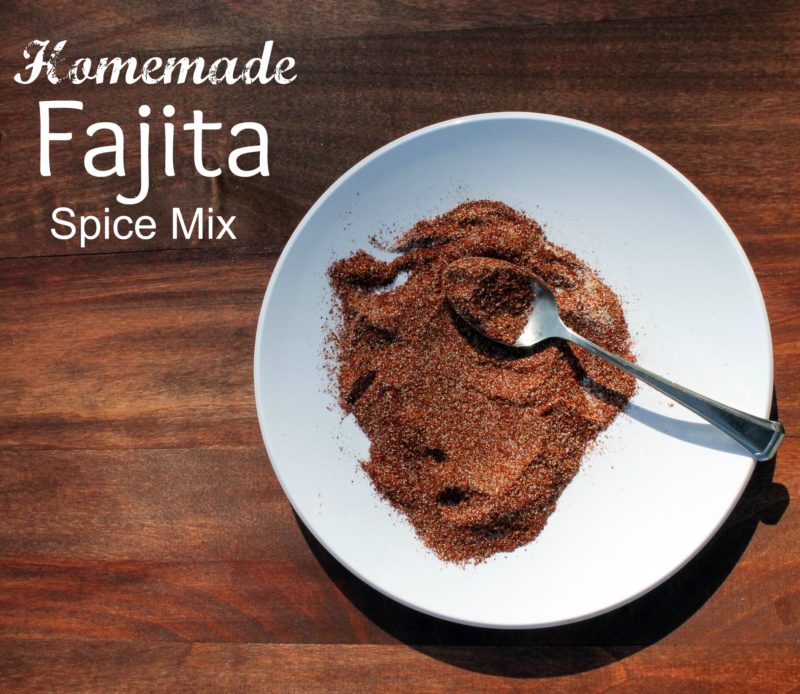
This is a recipe for a simple Homemade Fajita Spice Mix.

Fajita Spice Mix

Fajita’s like tacos are pretty much a staple in our house, we eat them all the time, especially in the summer because they are easy. Who wants to spend hours in front of a hot stove for dinner when it’s 100 degrees outside?

In an attempt to eat a bit healthier I make many of my own spice mixes instead of buying the packets available at the grocery store. At the very least it reduces the amount of sodium and sugar that we intake regularly.

I’ve already shared my favorite taco seasoning recipe so I thought it would be a good idea to share my fajita seasoning recipe as well. It’s pretty simple and comes from spices that I already have in my cupboard.

If you are looking for something that creates a thicker sauce add a tablespoon of corn starch to the mixture and a couple tablespoons of water while cooking. I prefer less sauce on my fajitas so I do not include these extra’s in my recipe.

The recipe below results enough seasoning for roughly 1 pound of meat, but it’s easy enough to double or triple for whatever size batch you are making. It’s also great as a rub for sliced steak or pork fajitas as well.

Homemade Fajita Spice Mix
Ingredients
  • 4 teaspoons of Chili Powder
  • 2 teaspoons of paprika
  • 1 teaspoon cumin
  • ½ teaspoon onion powder
  • ½ teaspoon garlic powder
  • ½ teaspoon cayenne powder (more if you like spice)
  • 1 teaspoon salt
  • ½ teaspoon sugar
Instructions
  1. Combine all ingredients in a bowl or jar.
  2. Can be stored in an airtight container for up to 3 months.
3.3.3070
Sweet Chili Sauce

Sweet Chili Sauce

Lemon Shallot Vinaigrette

Lemon Shallot Vinaigrette

Taco Seasoning

Taco Seasoning

June 9, 2015 January 8, 2016 Filed Under: Recipe Tagged With: Clean, Condiment, Quick & Easy

Thai Style Sweet Chili Sauce

By Jessica

This post may contain affiliate links. I may receive commissions for purchases made through links in this post.

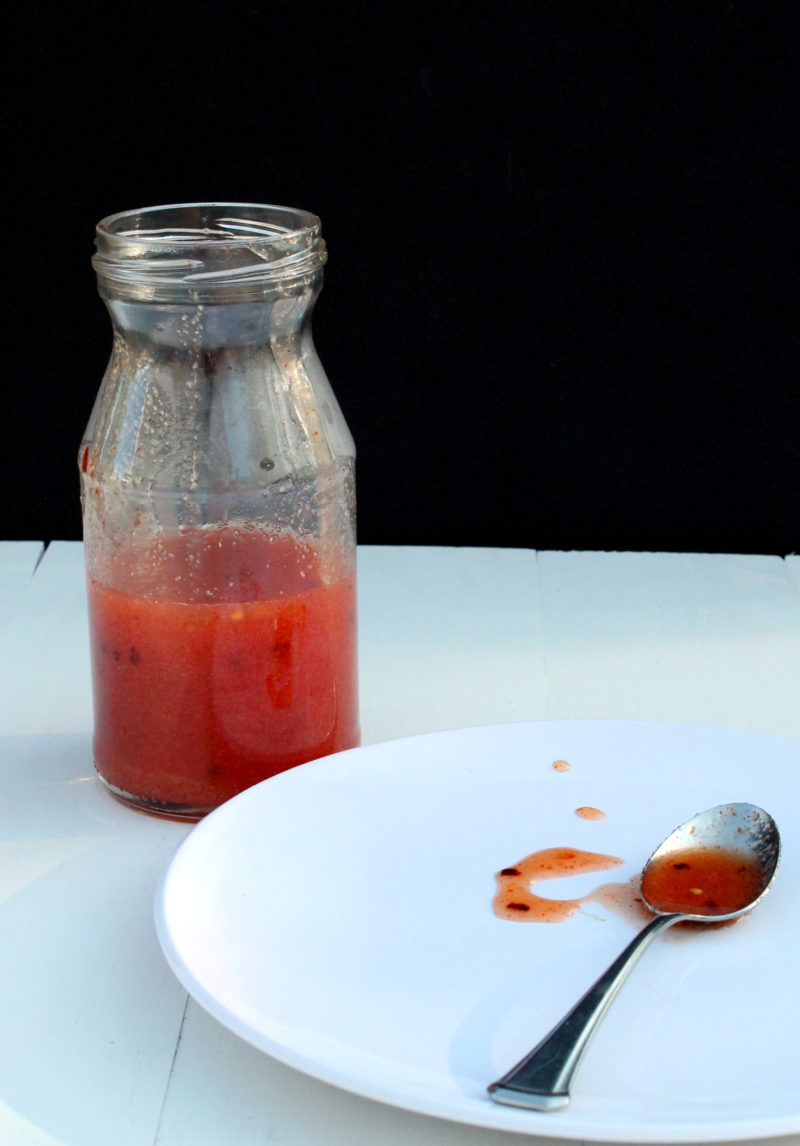
This is a simple and delicious recipe for Thai Style Sweet Chili Sauce.

IMG_7534


This is an unscheduled post.

I hope you don’t mind but as I was typing up tomorrows post I realized that this little sauce needed its own post. It has too many wonderful attributes and uses to be tucked into another post with the focus not on it.

So without further ado let’s talk about sweet chili sauce.

I love sweet chili sauce.

It’s great on wings, shrimp, fried chicken, wontons, egg rolls, salmon, and you get the idea.

Now In my infinite wisdom I thought I would try to come up with a clean alternative for the store bought, or take out stuff, but every single one that I tried just did not match up. So eventually I broke down and made the recipe below inspired by Life Tastes Like Food. Turns out it pays to be bad sometimes because this is the best sweet chili sauce that I have ever had.
The best part is that it has a pretty long shelf life so I can make a larger batch and use it in a few different meals throughout the week, or bring it to a potluck on the weekend.

Thai Style Sweet Chili Sauce
Cook time: 15 mins
Total time: 15 mins
Serves: 12-14 Servings
Ingredients
  • ¾ cup sugar
  • ¼ cup Rice wine Vinegar
  • ¼ cup water
  • 1 ½ teaspoons garlic powder
  • 1 teaspoon crushed red pepper flakes
  • 1 teaspoon sriracha
  • 1 tbsp cornstarch
  • ½ teaspoon salt
Instructions
  1. In a small sauce pan combine the water, vinegar, sugar garlic and red pepper flakes.
  2. Bring the mixture to a boil and then reduce the heat to a simmer. Allow it to cook for 1 to 2 minutes. A thin sauce should form.
  3. Whisk in the sriracha and then the cornstarch until it is well blended. Bring the mixture to boil and then reduce to a simmer. Continue to cook and stir the mixture until it has thickened, about 3 minutes.
  4. Remove from heat and let stand for 5 minutes before serving.
  5. Serve immediately, or store in the fridge for up to 10 days.
3.3.3070


May 26, 2015 May 26, 2015 Filed Under: Recipe Tagged With: Condiment

Thai Ground Chicken Salad with Peanut Sauce

By Jessica

This post may contain affiliate links. I may receive commissions for purchases made through links in this post.

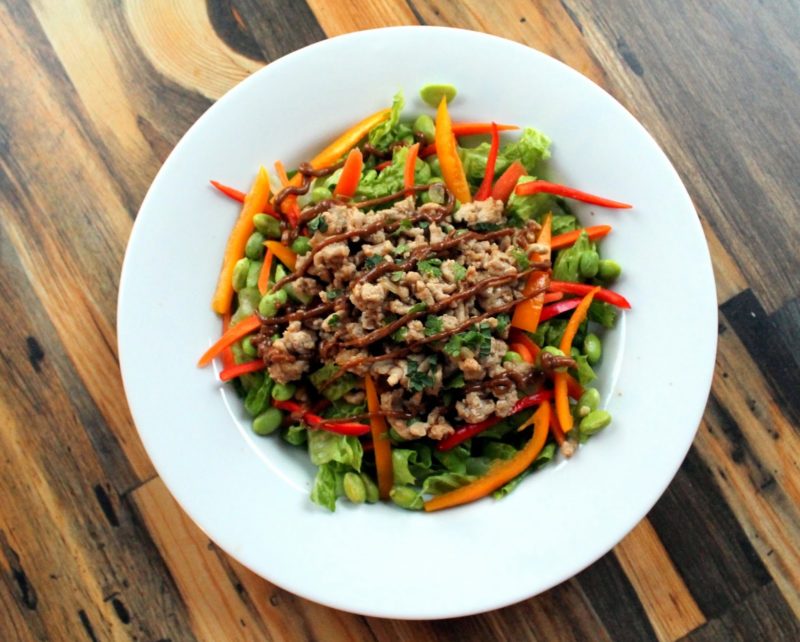
Thai Ground Chicken Salad with Peanut Sauce
Everyone seems to be into these Thai lettuce wraps and what not, but lettuce wraps have never been my thing. I mean there’s only so much you can pack into a lettuce wrap before your lettuce is exploding all over the place.
Now I am a fan of messy food, usually the messier the better, but the ratio of the mess to food that actually makes it o my mouth needs to lean a certain way if you know what I mean. Why not just take all that goodness and plop it in a bowl, and eat it with a fork. It’s still messy but I get so much more into my mouth this way!
Thai Ground Chicken Salad with Peanut Sauce Recipe

It’s this line of thinking that got me to come up with this amazing recipe. It’s not just a Thai ground chicken salad, but it’s a Thai ground chicken salad on top of a loaded green salad and soaked in delicious peanut sauce.

Larb Gai

By the way, did you know that thai ground (or minced) chicken salad is a thing? Before researching this recipe (yep I’m  nerd) I had no idea, but it’s a traditional dish that’s usually served with sticky rice and it’s called Larb Gai. There that’s your piece of trivia for the day.

Back to the salad.
Seriously I could eat/talk about this thing all week.
I won’t torture you that way I’ll just give you the recipe.
A little note: make more peanut sauce than you think you will need. I promise it will end up on all kinds of things that you don’t expect, and you will run out before you are ready.
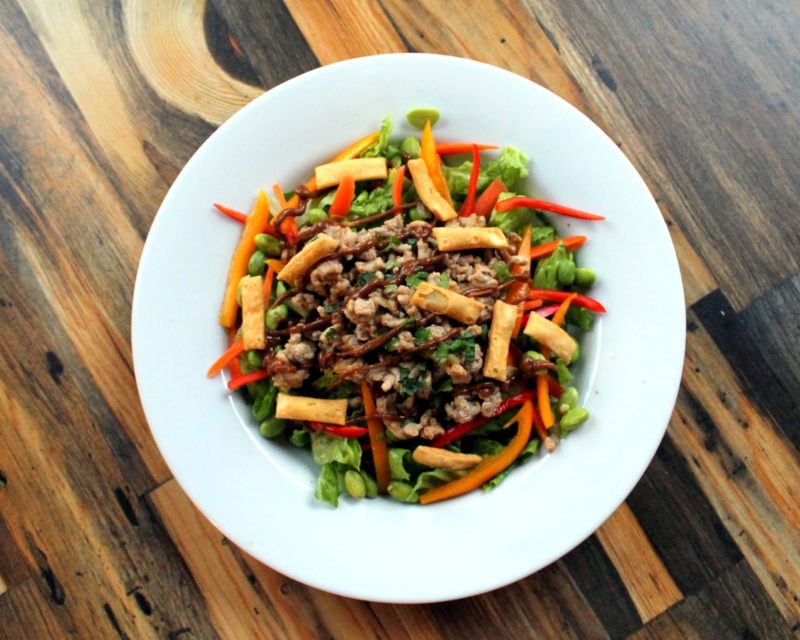
Thai Ground Chicken Salad with Peanut Sauce


Thai Ground Chicken Salad with Peanut Sauce
Prep time: 10 mins
Cook time: 10 mins
Total time: 20 mins
Serves: 4 Servings
Ingredients
  • 1 lb ground chicken
  • 1 teaspoon coconut oil
  • 1 small shallot, peeled and minced
  • 1/3 cup mint, chopped
  • 1/3 cup cilantro, chopped
  • 1 tablespoon lime juice
  • 1 ½ tablespoons fish sauce
  • 1 tablespoon rice flour
  • ½ teaspoon chili flakes
  • 2 teaspoons garlic powder
  • 1 teaspoon ground ginger
  • 3 tablespoons soy sauce
  • 2 tablespoon rice wine vinegar
  • 1 tablespoon fresh lime juice
  • 1 tablespoon oil
  • ½ cup peanut butter
  • ¼ cup water
  • 1 cup shredded lettuce of choice
  • 1 cup shredded cabbage
  • 1 large carrot, julienned
  • 4 red, yellow or orange sweet peppers, julienned
  • ½ cup green onions, chopped
  • 1 cup frozen edamame, defrosted
  • ½ cup crispy wonton strips
Instructions
  1. Heat a oil in a large skillet over medium-high heat.
  2. Add the ground chicken and cook, crumbling it as you go until the chicken is cooked through, about 3-5 minutes.
  3. Add the shallots and cook for another minute. Remove from heat and add the lime juice, fish sauce, rice flour, and chili flakes tossing to combine. Set aside.
  4. In a medium sized mixing bowl whisk together the garlic powder, ginger, soy sauce, vinegar, lime juice, oil, peanut butter, and water. Adjust the seasonings and set aside.
  5. In a large bowl toss the lettuce, cabbage, carrot, peppers, onions, and edamame.
  6. Top with the cooled chicken mixture. Drizzle with peanut sauce and top with crispy wonton strips.
  7. Serve immediately.
3.3.3077

April 22, 2015 October 15, 2019 Filed Under: Chicken/Turkey, Main Dish, Recipe, Salad Tagged With: Chicken, Clean, Condiment, salad

  • « Go to Previous Page
  • Page 1
  • Page 2
  • Page 3
  • Page 4
  • Page 5
  • Interim pages omitted …
  • Page 7
  • Go to Next Page »

Primary Sidebar

  • Facebook
  • Instagram
  • Pinterest
  • Twitter
  • YouTube
Hi, I'm Jessica. I'm an herbalist living in the great northeast with my husband Chuck, our two little boys, our dog Brody and a flock of chickens. I'm all about real, good food and good times with awesome people. I spend a lot of time outside, in my garden, and concocting potions and helping people feel their best. I also like tea, reading, and about a million other hobbies. I'm so happy your here on this adventure with me.

Footer

Copyright © 2025 · Foodie Pro Theme On Genesis Framework · WordPress · Log in